
Today I’m going to show you how to add the WorksThing Live Chat website widget to a customer’s website. That could be WordPress, WooCommerce, Brambl or almost any other kind of site.
Watch this how-to video or follow the instructions below.
If you’d like to add it to your w3shop or private client microsite, take a look at this Insights article.
To use this you’ll need the Website Manager app or be a Nettl partner or Brambl subscriber.
Firstly, why have we built this?
Clients often ask us to add live chat functionality to their websites. And while there are quite a few options out there, we wanted to give clients more than just a chat widget.
Why are they asking for live chat anyway? It’s pretty simple. It makes a better client experience. Time and time again, people say it’s their preferred way of interacting with a business. They prefer it over email and prefer it over telephone calls.
We’re building websites for our clients to attract new customers. They’re for generating leads and inbound enquiries. But nobody trusts a contact form. People have become used to instant messaging. So we wanted to start off the relationship properly.
Adding a live chat widget takes just a few minutes and creates a new recurring revenue stream.
For our clients, not only do they get a modern communication tool. They also get a database to keep track of all their enquiries and customers. So they can use that data to properly follow up and make the most of their marketing.
Get started
So let’s get started and sign in.
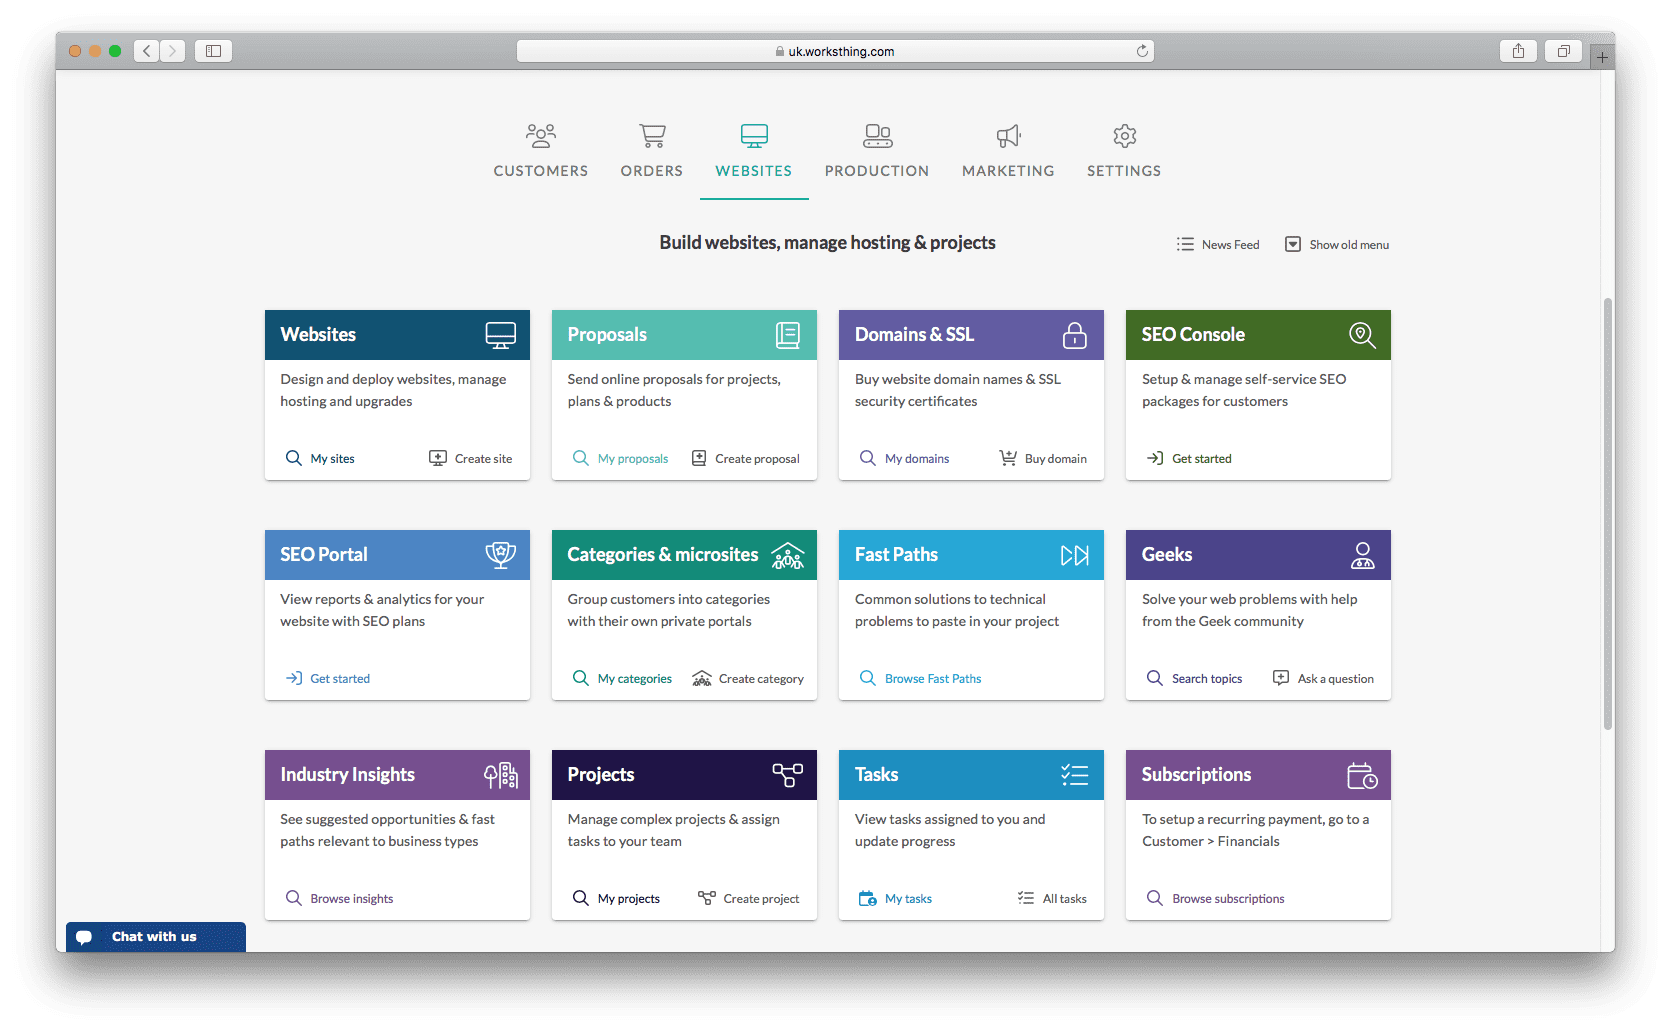
On the dashboard, click the Websites tab and then the Websites tile or in the top search bar, start typing “Websites” and select from the menu.
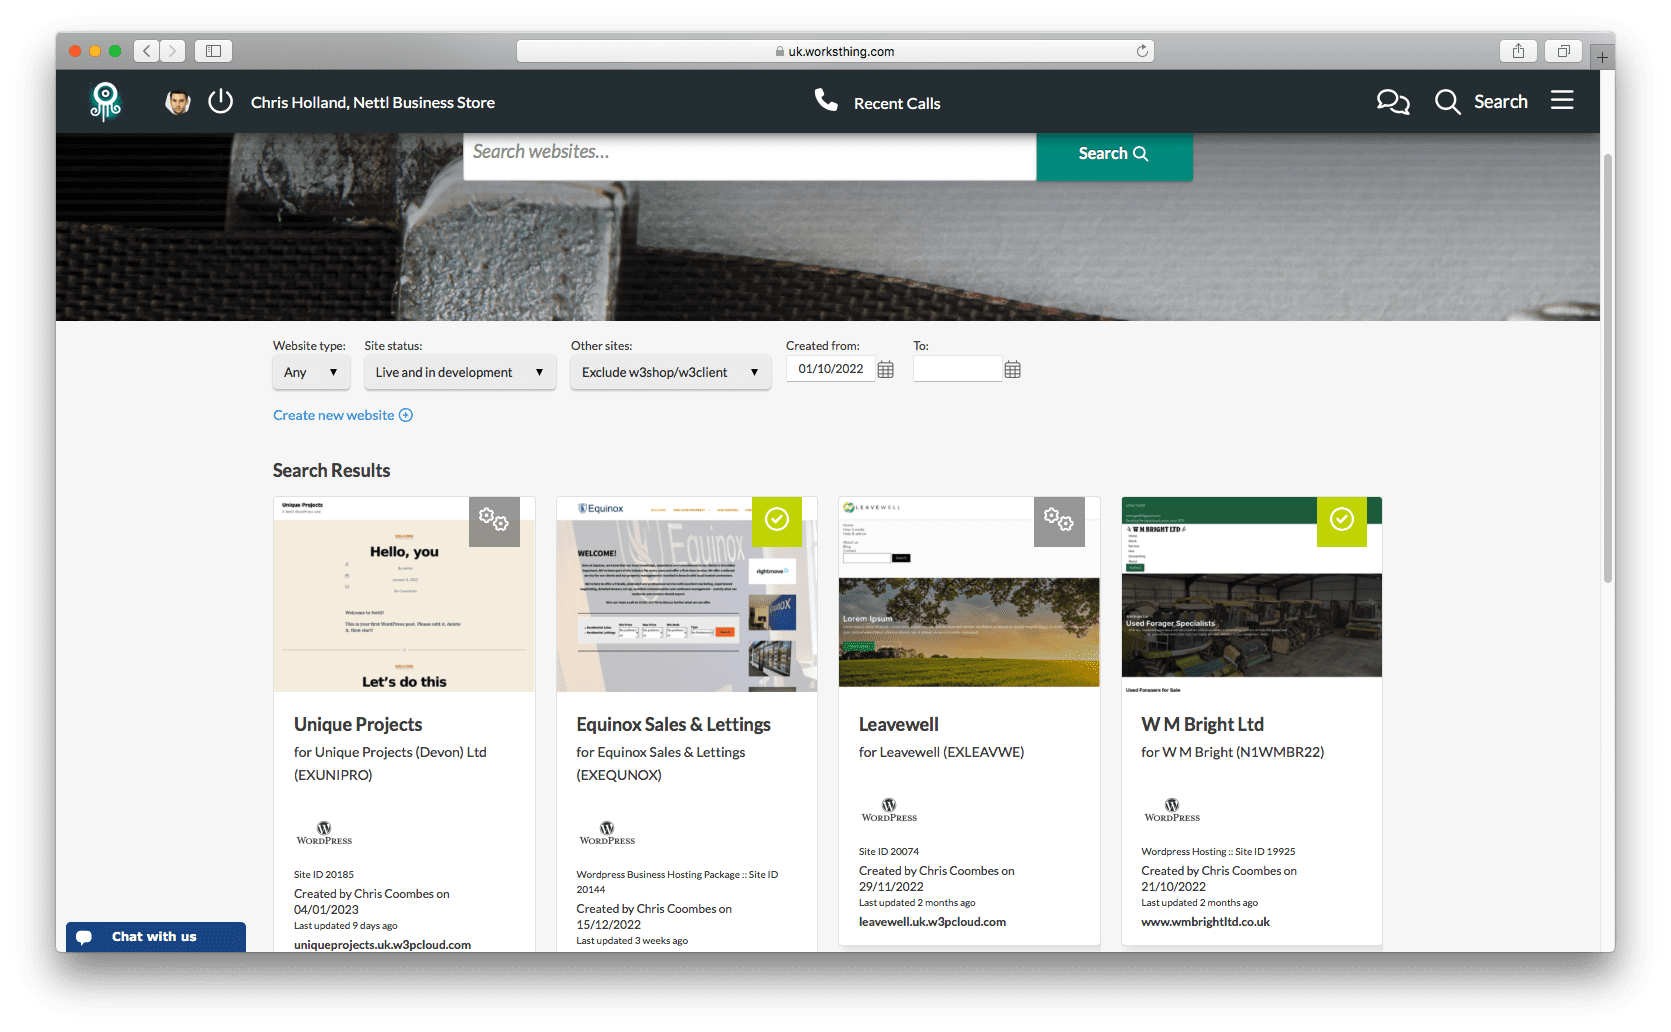
Search for the website you want to add live chat to, or browse all your sites.
You can only add the live chat widget once a site is live.
So push your site live before setting up live chat.
If you want to add Live Chat to a website which is hosted somewhere else, you’ll need to link it to the system. Create a new website and choose Externally hosted. Select the customer, then continue like any other website.
The website settings and timeline will appear.
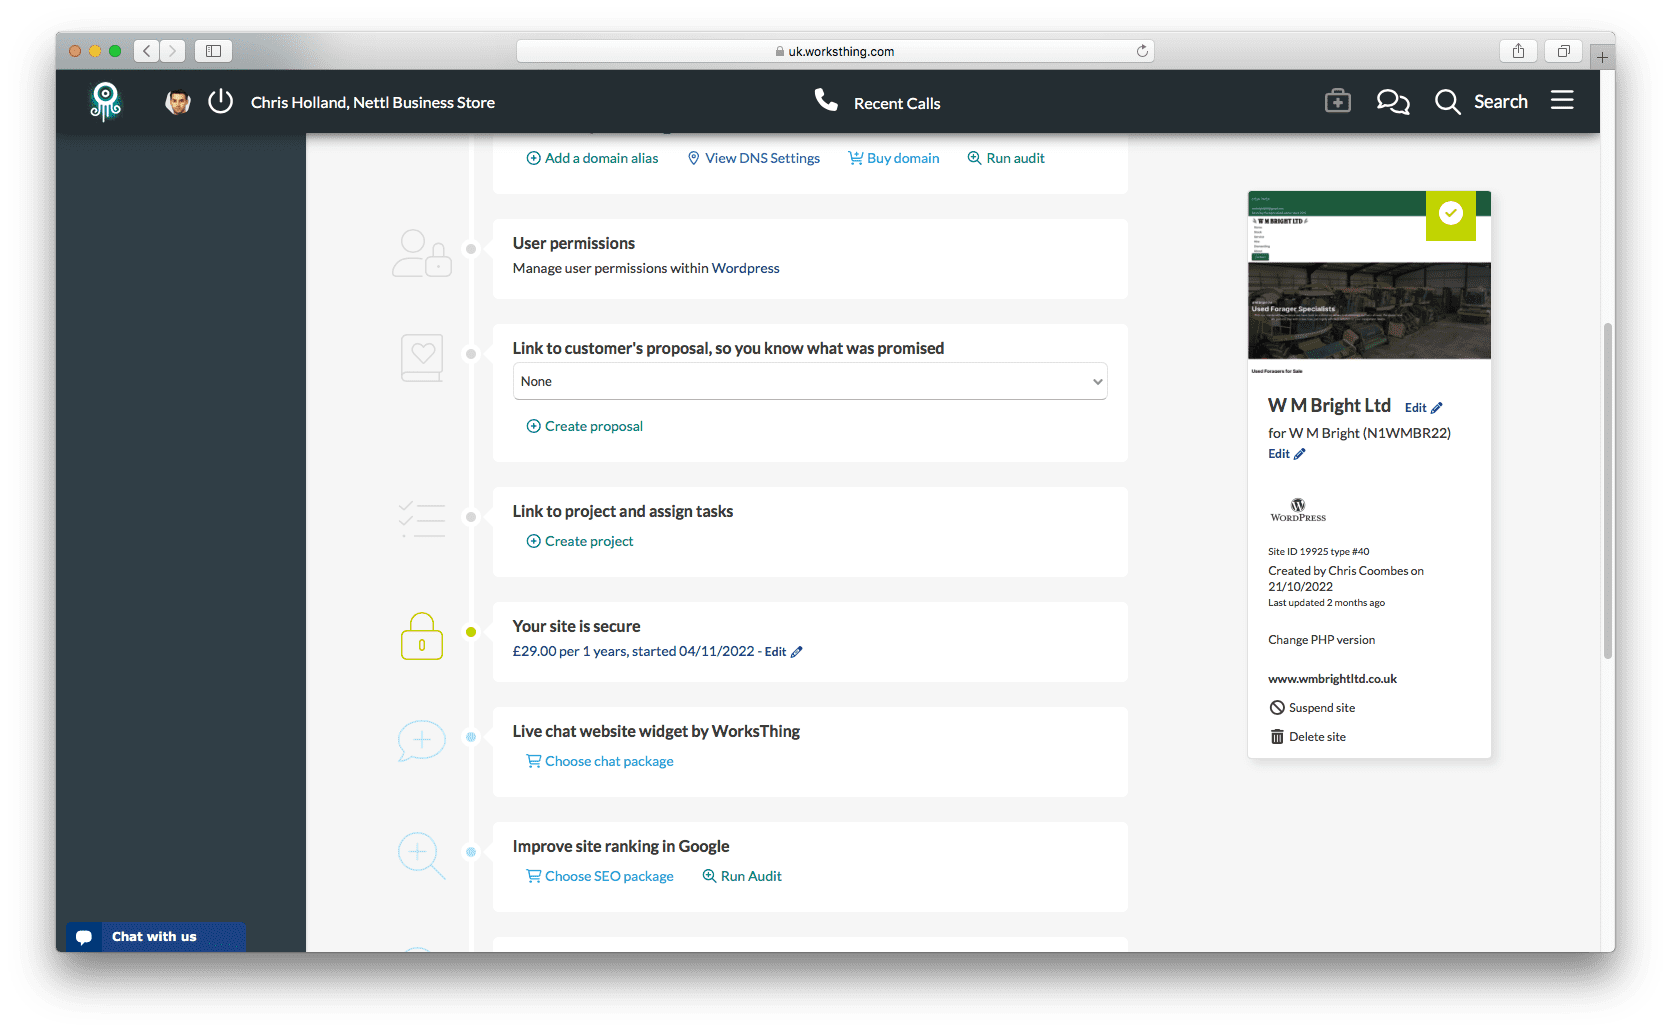
Scroll down to the section just below the SSL certificate. You’ll see Live chat website widget by WorksThing.

Press Choose chat package.
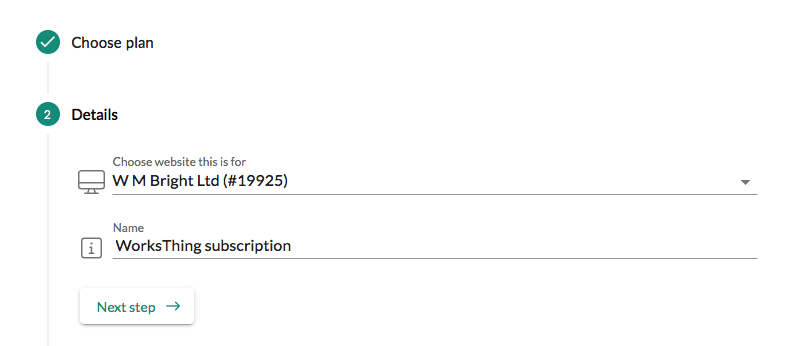
Now it’s time to configure a subscription for the client. The first tab will skip, since there’s only one option to choose. The second tab lets you choose which website to add it to. This is automatically selected and you can skip to the next step:
On step 3, we can choose which client contact to create a system user for.

Each Live Chat widget includes one WorksThing system user. This user account lets them respond to chats from their own customers, either on a browser or the dedicated iOS or Android apps.
It also lets them add their own leads, contacts, customers to WorksThing CRM, which is included free of charge with their subscription.
If you’d like to add a new user instead of picking one of their existing contacts, press add new contact. This will open a Create contact pop-up:
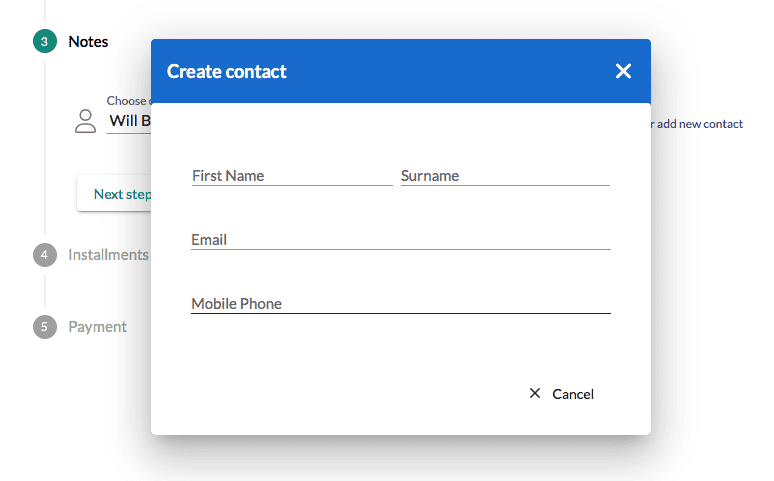
Just enter their first name, surname and email address. When you save, that new user will be selected.
On step 4, set the amount you want to charge your client each month and in step 5 you can choose how to collect payment. If they have any saved payment cards, you can select one here or add a new one.
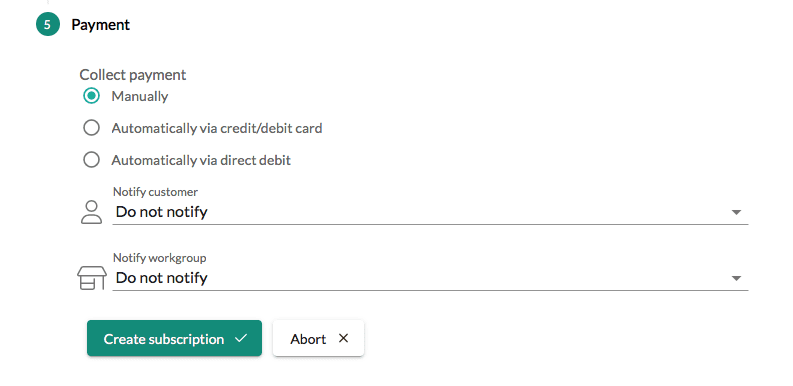
If you have a GoCardless account and app, you can also request a direct debit mandate directly from this screen. The client will be sent an email, asking them to complete their bank details. You’ll get an email when they’ve done that.
When you’re done, hit Create Subscription.
You’ll be returned to the website timeline and you’ll see some new options in the Live Chat section:

When you pressed Create Subscription, we also created a new workgroup and user account for the client, using the address and contact details from their customer account. Press Edit users ton see their system user, which they’ll use to sign-in to WorksThing and the mobile apps:
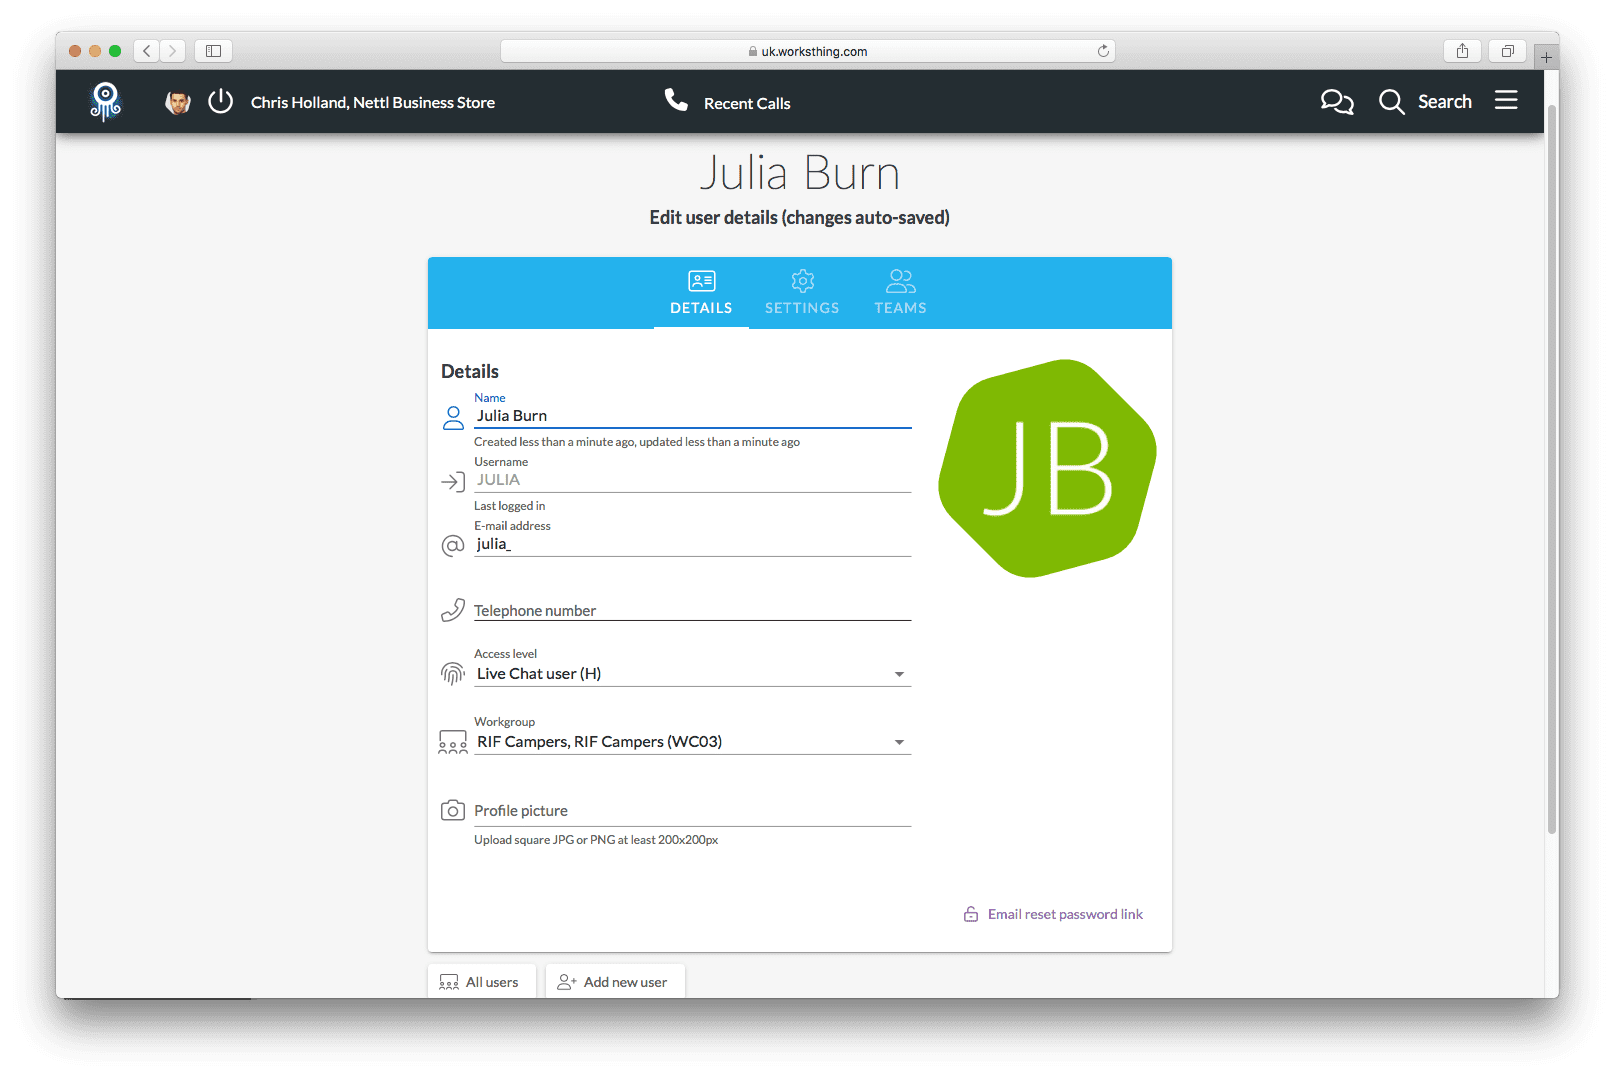
We deliberately didn’t notify them about their account, so you can finish configuring their live chat settings. When you’re ready to give them access, press Email reset password link at the bottom right of the screen. They’ll get an email with a link to press Reset password, which will email them a temporary password.
Next we’re going to setup live chat on their site.
Configure Live Chat Settings
On the website settings page, press Edit chat settings:
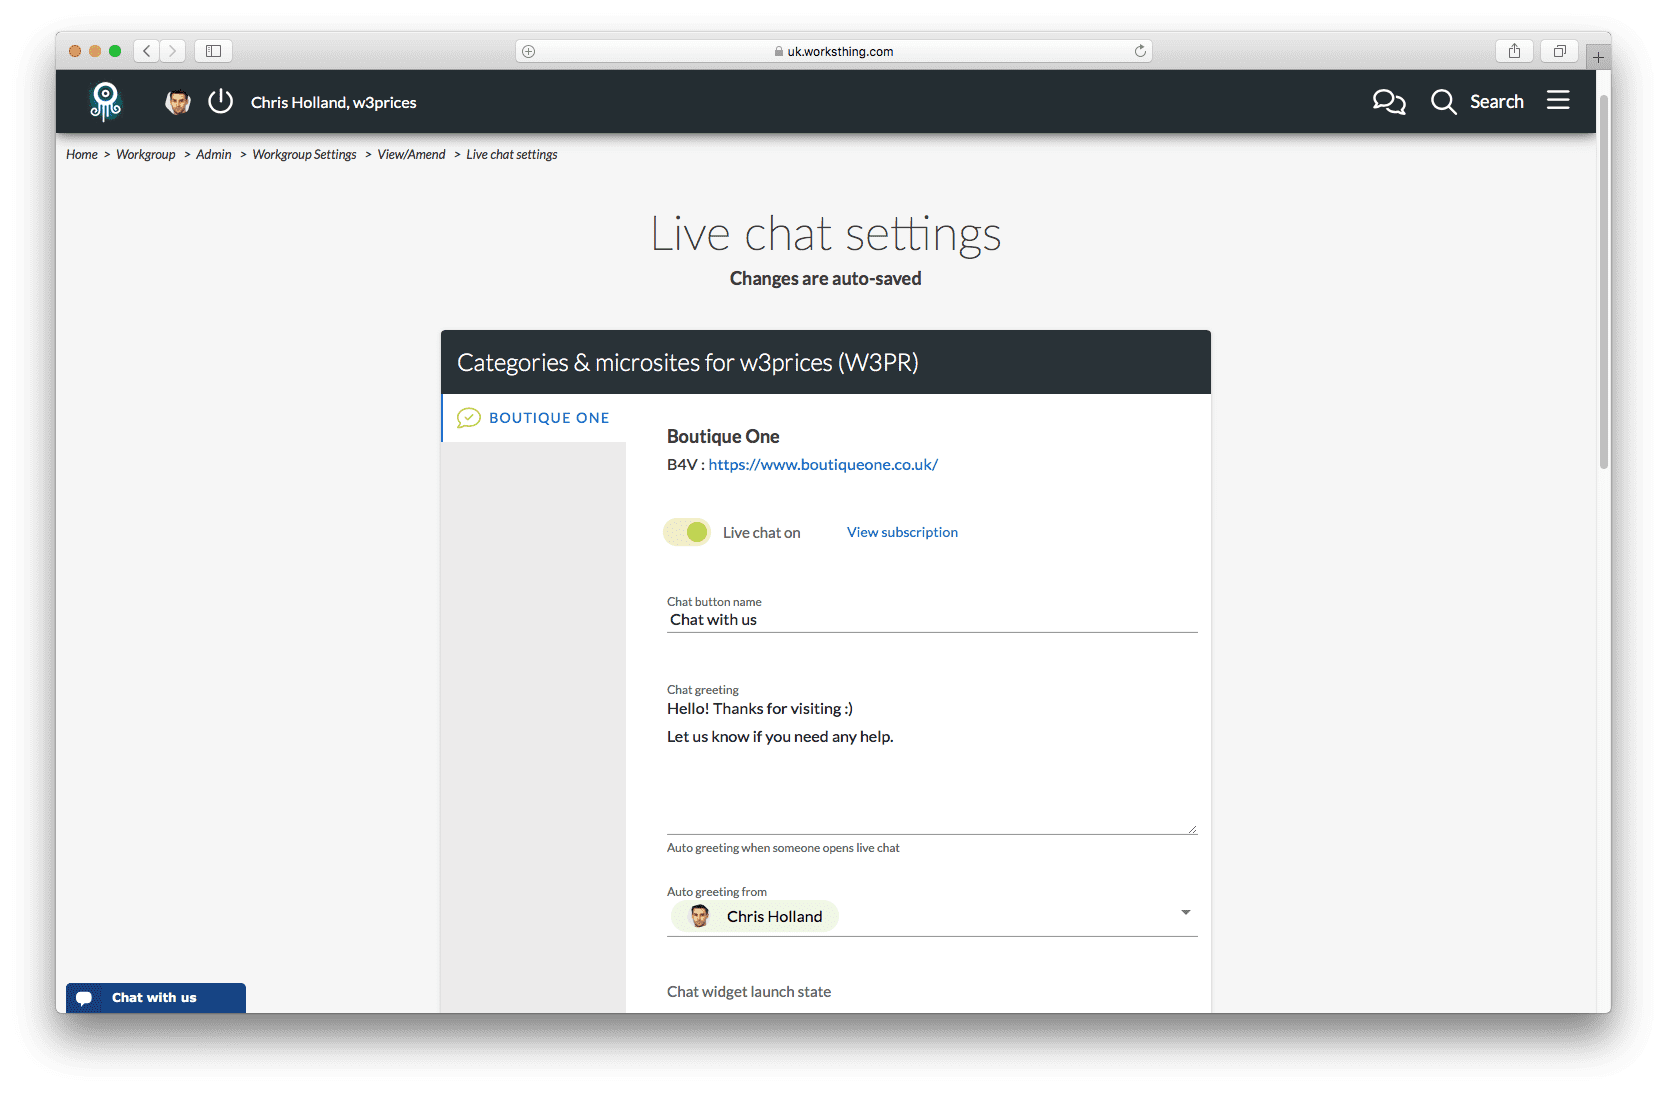
This will open the chat settings page:
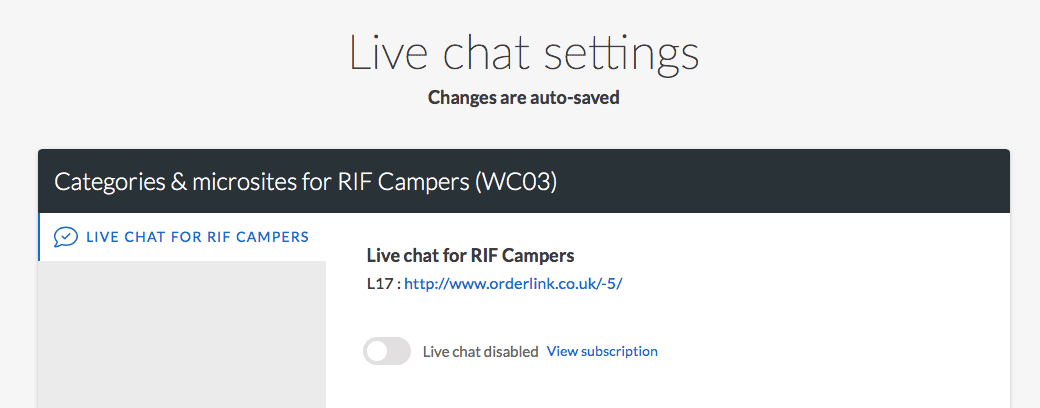
First we need to flick the Live chat disabled switch.
The light goes green and we’re ready to configure the chat settings.
First well configure the settings and then when we’re done, we’ll paste some code onto the client’s website. When we do that, the chat widget will be live. And visitors can start chatting with your client. If you want to disable chat for any reason, just flick the Live chat on button, to turn it off. Your settings will be saved, but chat will be hidden on websites.
First thing we can configure is what the chat button says:

Changes are saved automatically when you leave the field.
After a visitor presses the chat button, we play an automated greeting. You can set that to say whatever you want.
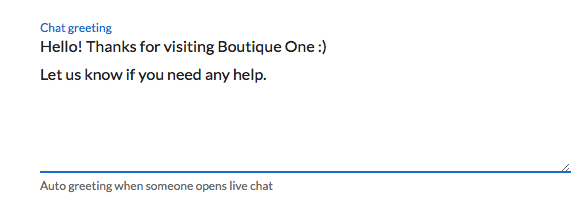
The greeting will look like it has come from one of the users in the client’s workgroup. Choose which user automatically greets each visitor from the dropdown:

If you’d like to add another user, with a generic name, you can add an extra system user here.
There are a few different ways you can show the chat widget.
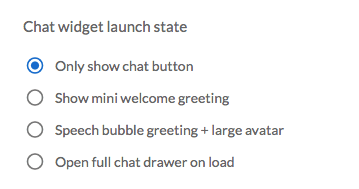
By default, Only show chat button is a small button, locked to the bottom left of the page:
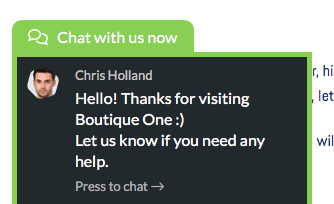
To make it slightly more prominent, Show welcome greeting slightly expands the chat box and shows the greeting message with the user you chose:
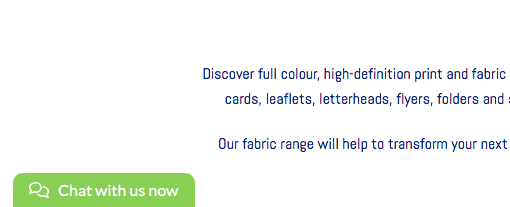
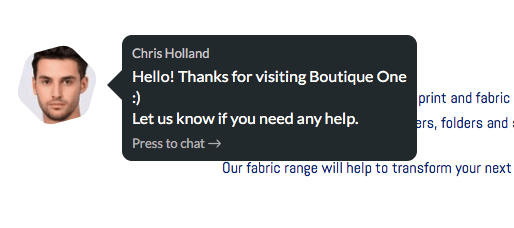
People are naturally drawn to other people’s faces. So with the Speech bubble + large avatar option you can make the chat even more prominent:
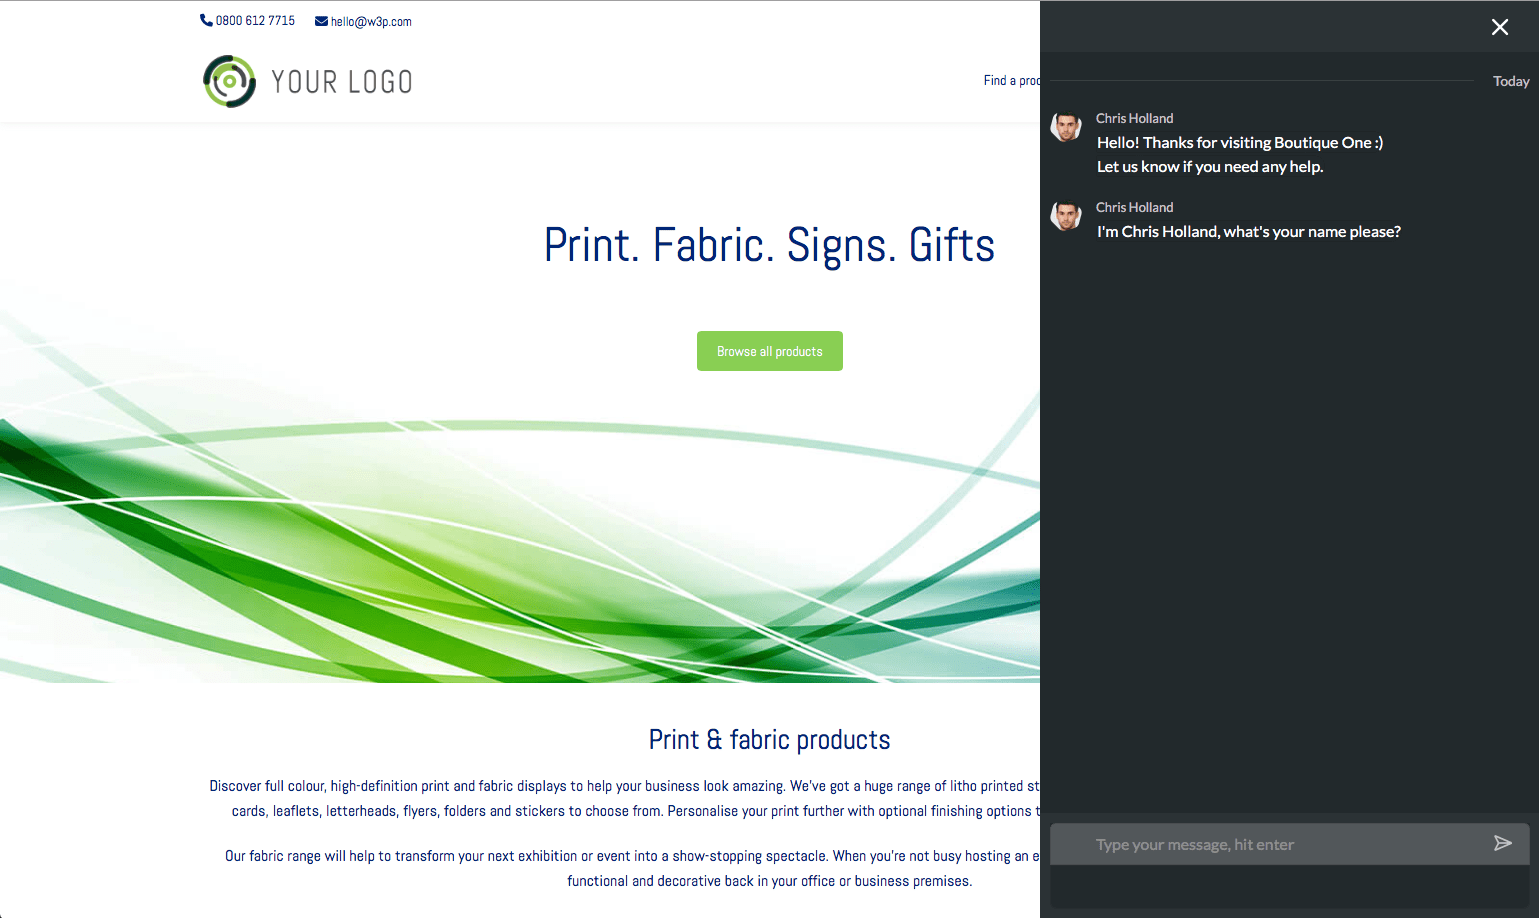
Finally, you can Open chat drawer fully on load. This will take up the right part of the screen and is good if you really want to stimulate someone to start chatting:
The visitor can close the window if they don’t want to chat. They’ll see the small button at the bottom of the screen if they want to start chatting again.
You can choose whether the button/bubble is shown bottom left or bottom right:

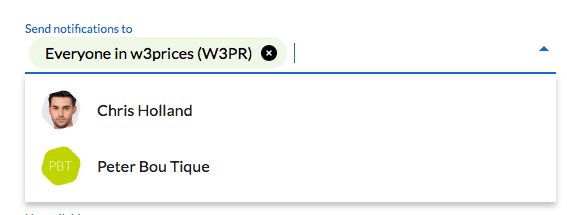
When a visitor starts chatting, you’ll want to notify some or all of your client’s users. By default, your whole team will be notified. Select one or more users from the dropdown if you only want, say, the sales team to be notified:
With the dedicated iOS and Android apps, the client can respond to chats directly from their smartphone. Or they can open any browser and sign in to worksthing.com.
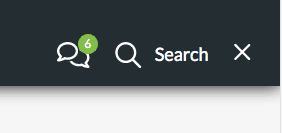
If you’re signed into WorksThing, you’ll see badges appear next to the speech bubble at the top of the screen to show you have new unread chats:
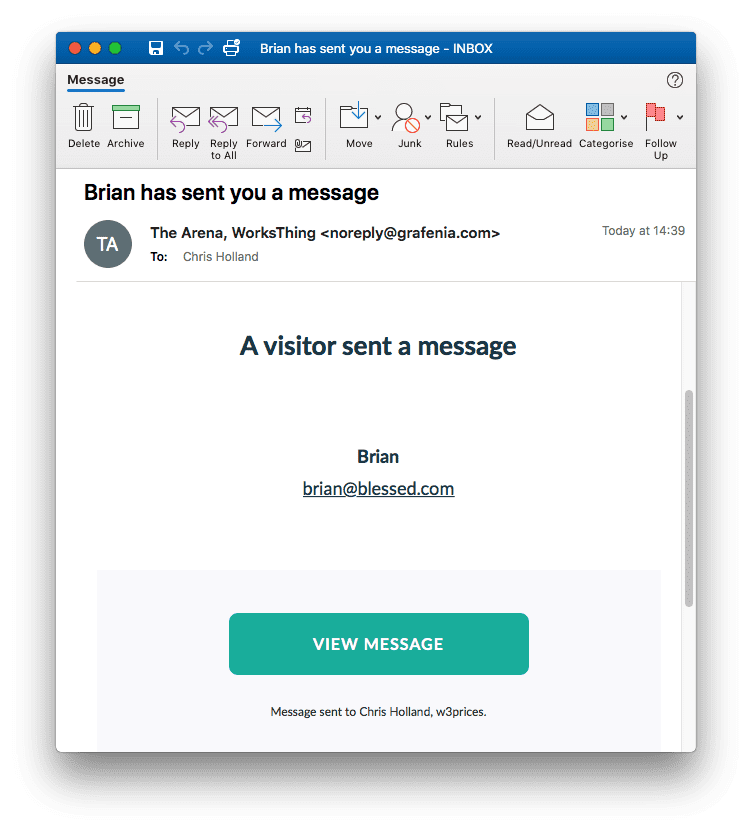
If you’re not signed in, we’ll send an email with a link to the chat:
The client might not be able to respond immediately. While people expect a faster response than by email, they don’t expect an instant reply. Set how long to leave someone on-hold:
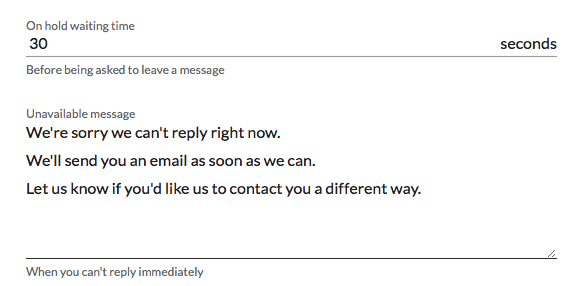
If you chose 30 seconds, then after we’ve asked the user how we can help, we’ll wait 30 seconds for someone from the client’s team to respond. If they don’t, we’ll show Trying to connect you. After another 30 seconds, if nobody has replied yet, we’ll say Sorry to keep you waiting. Finally, after a third 30 seconds we’ll show the Unavailable message you set. Change the on hold waiting time to 60 seconds and it would be 180 seconds or 3 minutes before the unavailable message kicks in.
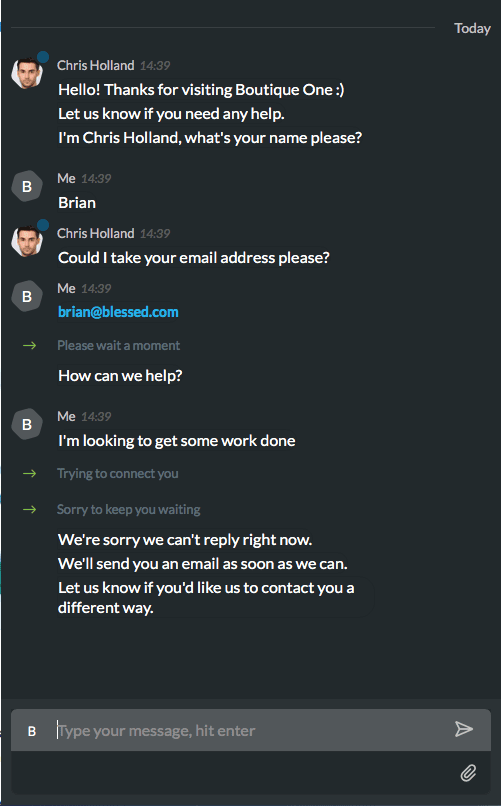
Here’s what the visitor sees:
Now we’re done with the settings. We can go ahead and publish the widget onto the client’s site. If you scroll to the bottom of the screen, you’ll see Live chat widget code:
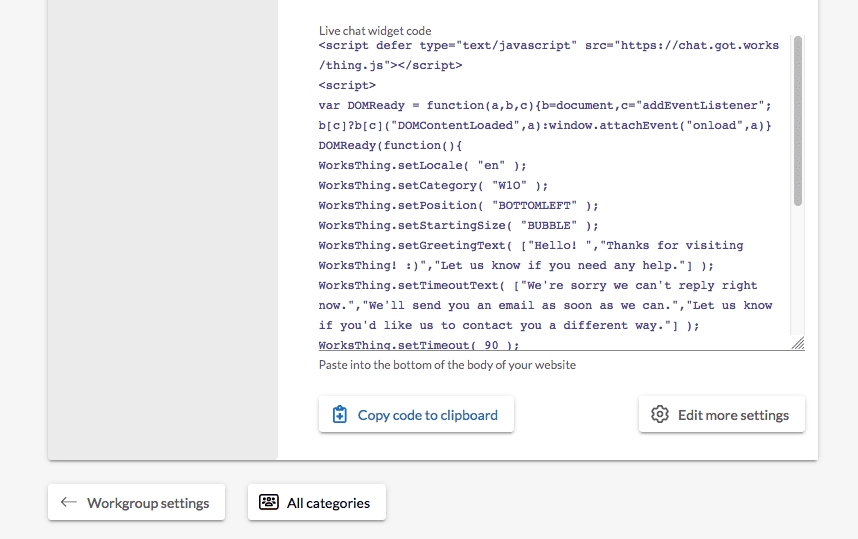
Every time you make a change to the settings above, the code automatically updates itself. You’ll need to copy the code to the site each time you make changes.
So let’s press Copy code to clipboard to grab it.
We want to insert the code into the body of our website. Depending on what type of site, or builder you’re using this could be done in a few different places.
Adding the widget to a WordPress Divi site
Watch this video or follow the instructions underneath.
For WordPress, in the Divi builder, go to Theme Options > Integrations > Code integrations.
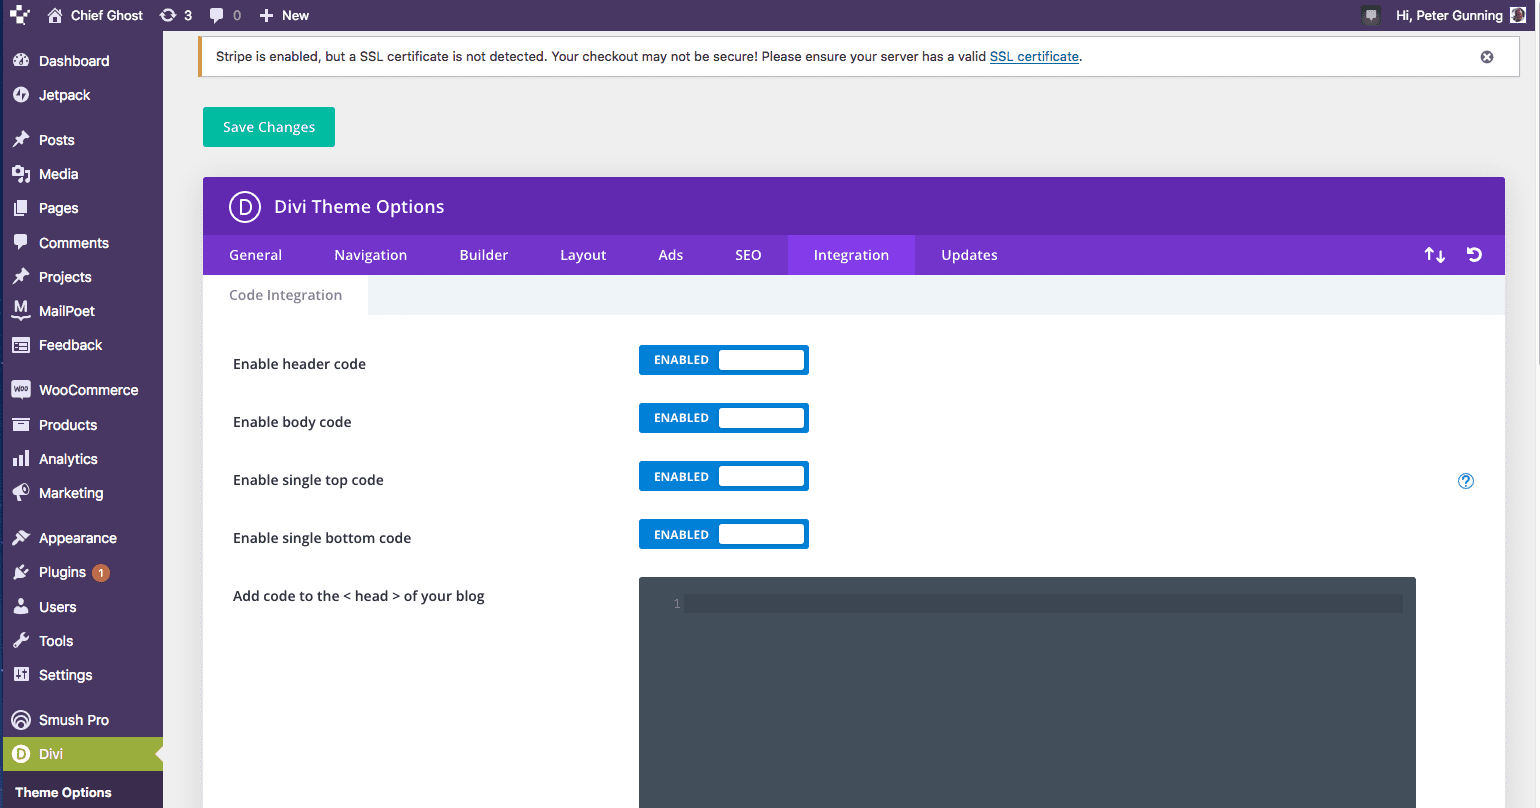
Make sure Enable body code is enabled.
Paste the code into the section Add code to the < body >
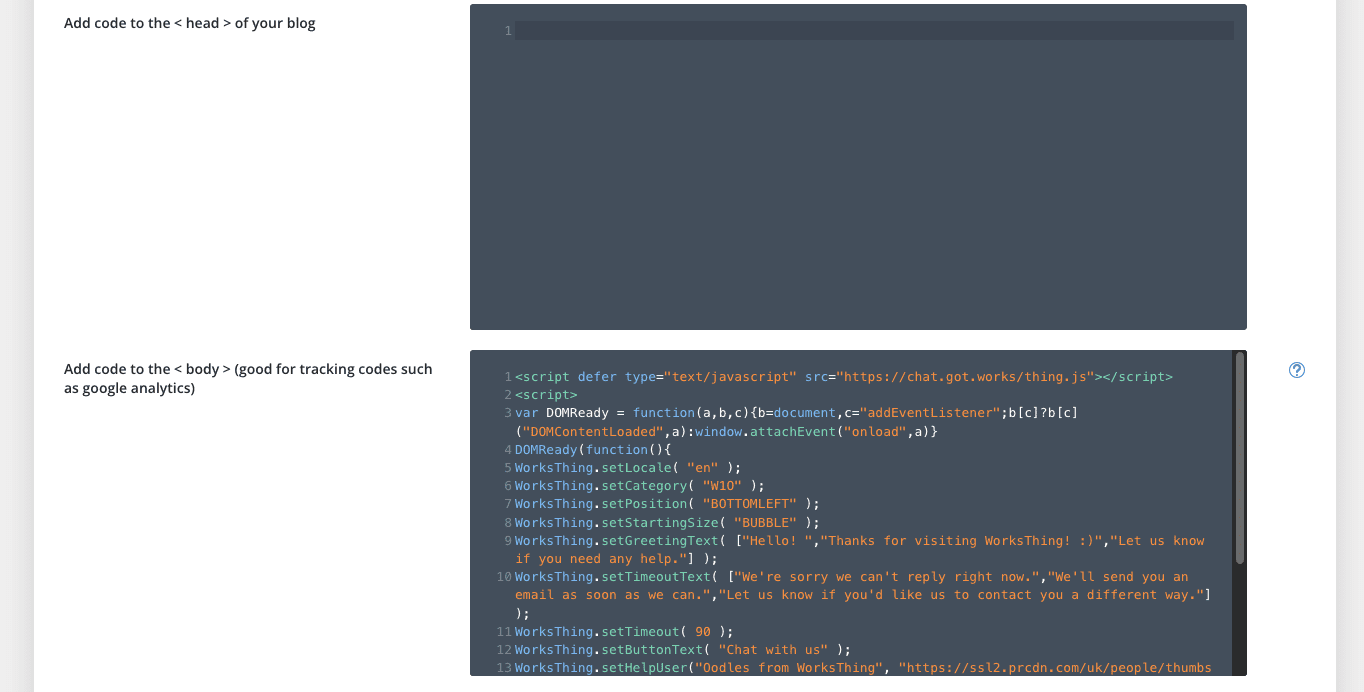
Save changes, and clear or refresh a cache if your site is using one.
Visit your client’s site, refresh and the widget should appear by magic:
If it doesn’t, wait fifteen minutes or so and refresh again. Sometimes your website host also caches pages to speed them up, so you might need to wait for the cache to clear.
Adding the widget to a WordPress Elementor site
Watch this video or follow the instructions underneath:
To add the widget in a WordPress site using Elementor, go to Elementor > Custom code:
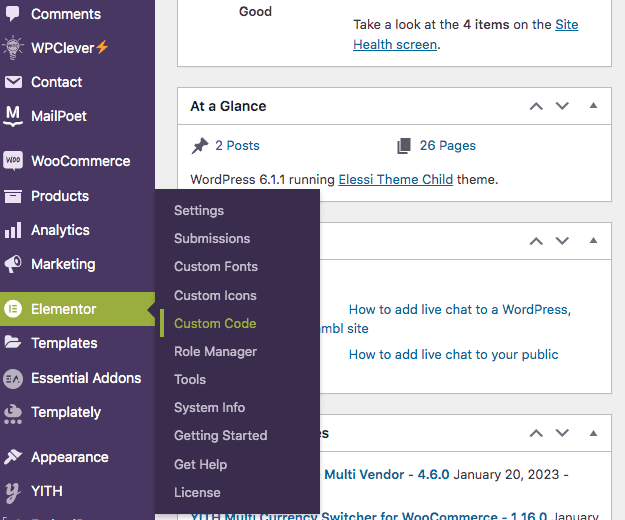
Choose Add new:
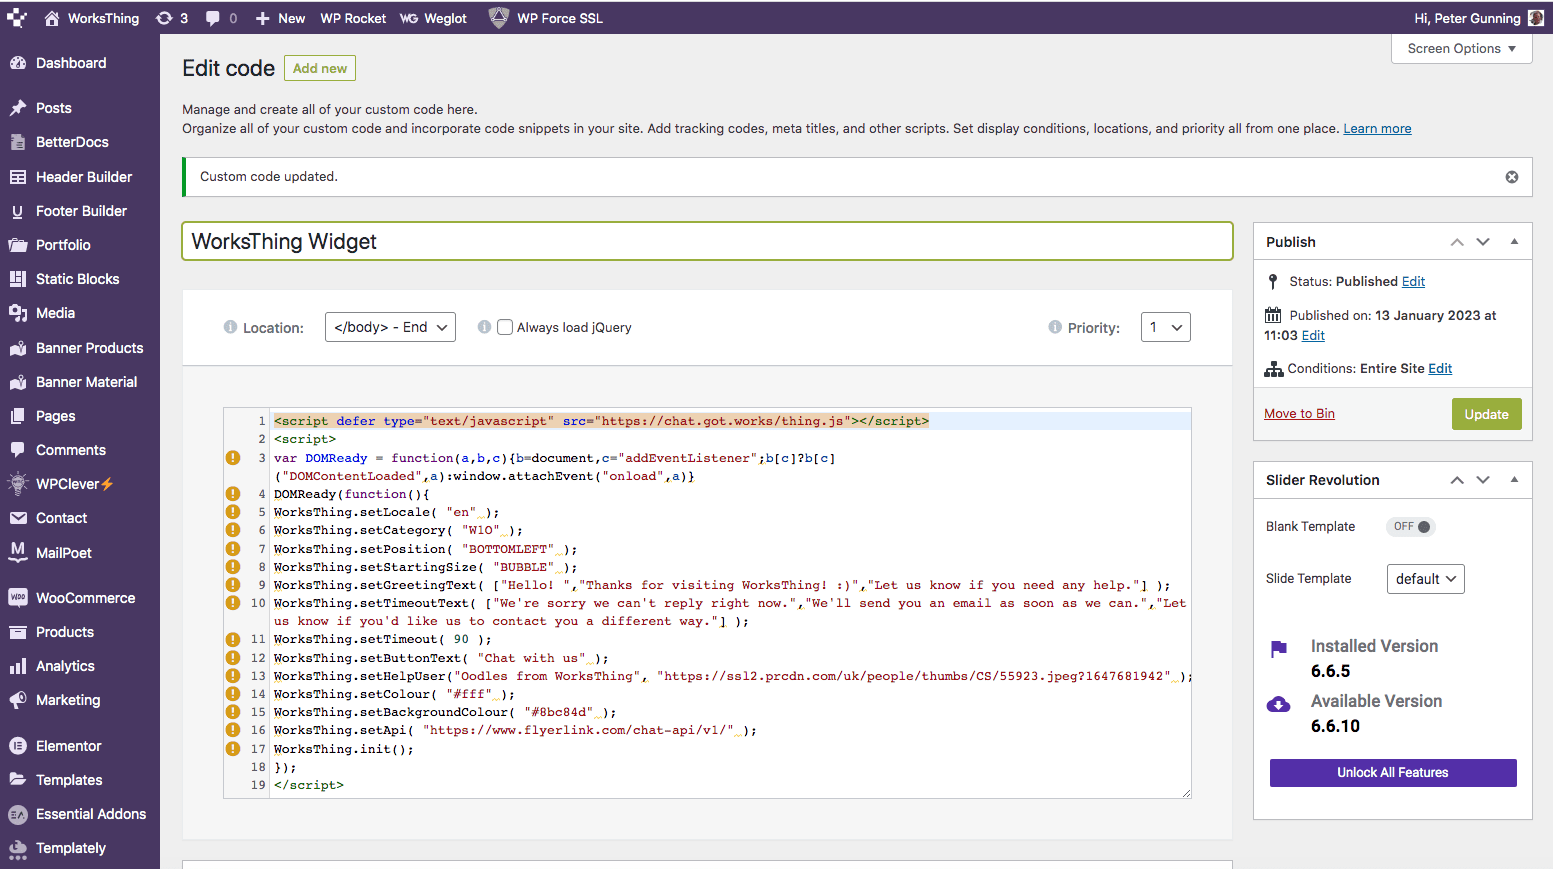
Give your code a name, like “WorksThing Widget“
In Location, choose </body> – End and then paste your code below.
Save changes, clear your cache and reload the client website. The widget should appear. If you want to change any settings, grab the new code, replace here and publish again.
Adding the widget to a Brambl site or other site
Watch this video or follow the instructions underneath.
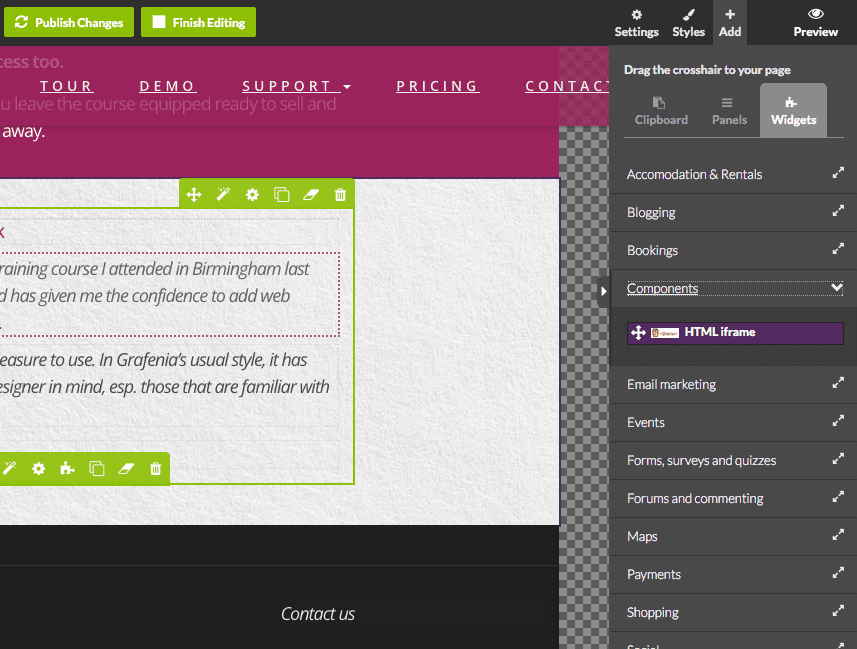
In the Brambl website builder, go to the Add tab.
Then in the Widgets tab, open Components. Drag HTML iframe to the bottom of your homepage:
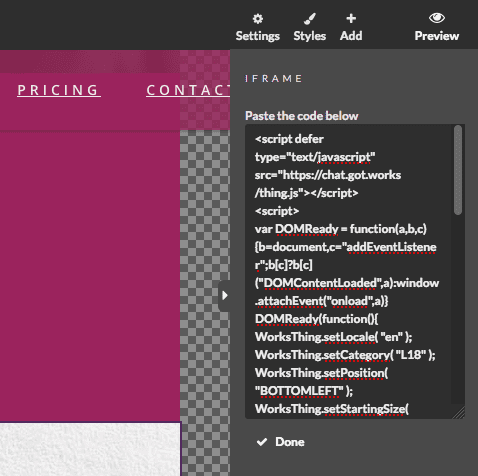
This will open the iFrame editor. Paste your code in here and press Done.
Save changes and then press Publish Changes. Wait a few moments for your site to be updated. In a new window, open the site and refresh. Your chat widget should appear by magic.
Other types of website might look or behave differently. You might need to paste the code into the body of the site, add a widget or follow the builder’s instructions on integrating custom Javascript.
Adding a different link or button to open chat
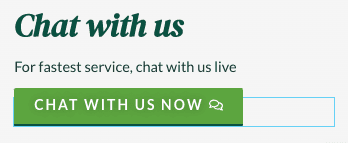
Now that your chat widget is working, you can also add other buttons. This is useful in places where you might want a visitor to start a conversation. Contact us pages are an obvious place to start. You could also have a Chat with us call-to-action on landing pages or in product descriptions.
It’s really easy to add a button.
Add a button like you would normally. Style it how you want, change the text, colour and any of the other options:
Then instead of adding a link as URL or anchor point, look for CSS Class or CSS Classes.
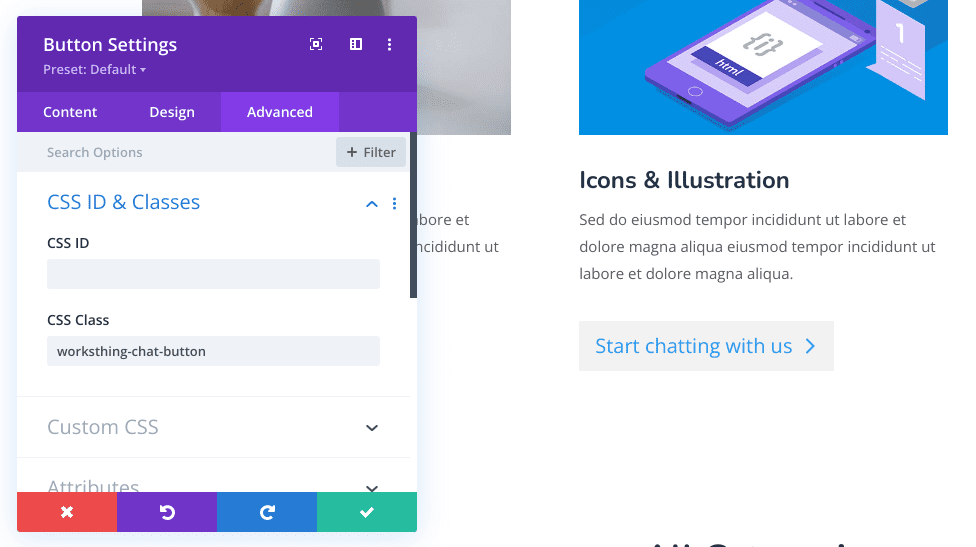
In Divi in the Button Settings, go to the Advanced tab.
In the CSS ID & Classes section, it’s CSS Class:
In Elementor it’s in the Advanced tab, in the Layout section, at the bottom:
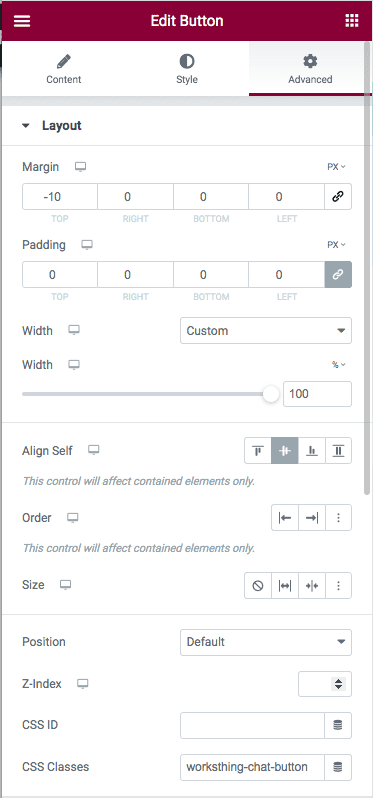
Paste the text worksthing-chat-button in here and save changes.
Whenever someone presses the button, it will open or re-open the chat window. If they already started a conversation, the chat will continue where they left off.
Responding to chats
There we are. We’ve configured our settings, added the code to our site and sprinkled some extra buttons around. Now it’s time to see how to reply to incoming chats.
The client can sign into WorksThing with the user you created.
To show them how it works, start a fake chat on their website.
If they’re signed in, they’ll see the chat icon light up at the top. If not, click the link in the email they get. Their team see all inbound enquiries in The Arena. In the first tab, they’ll see all customers and enquiries:
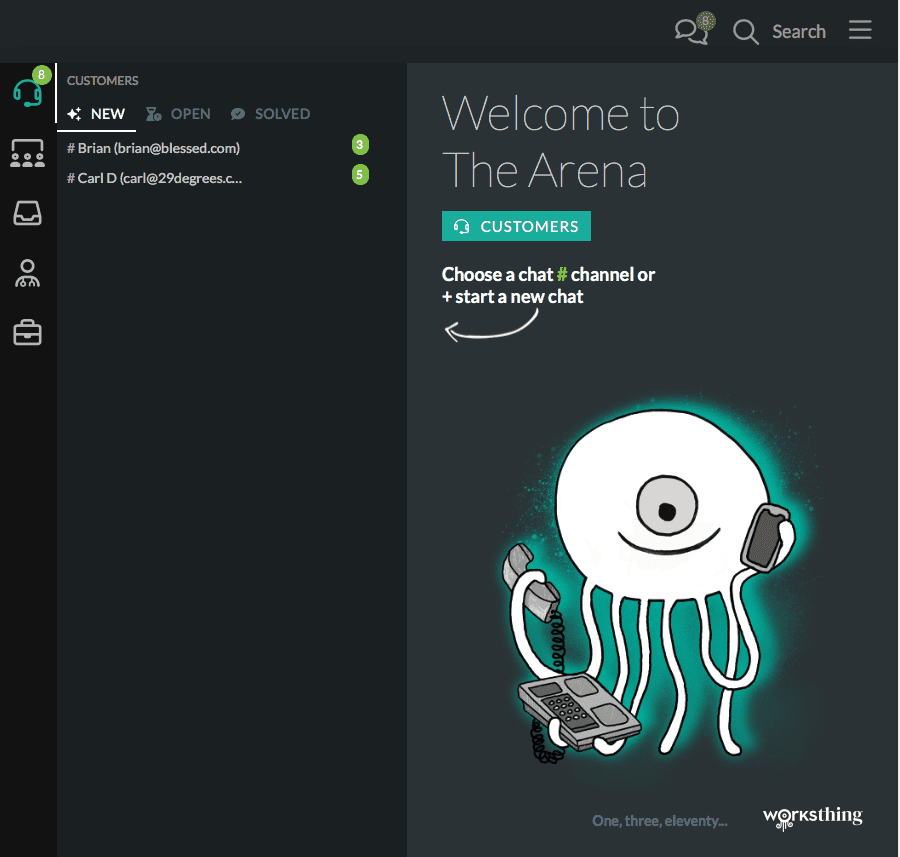
Chats are grouped by New, Open and Solved. Next to each chat is a count of the number of unread replies. Any chats not responded to will be in New. Click a chat to read it:
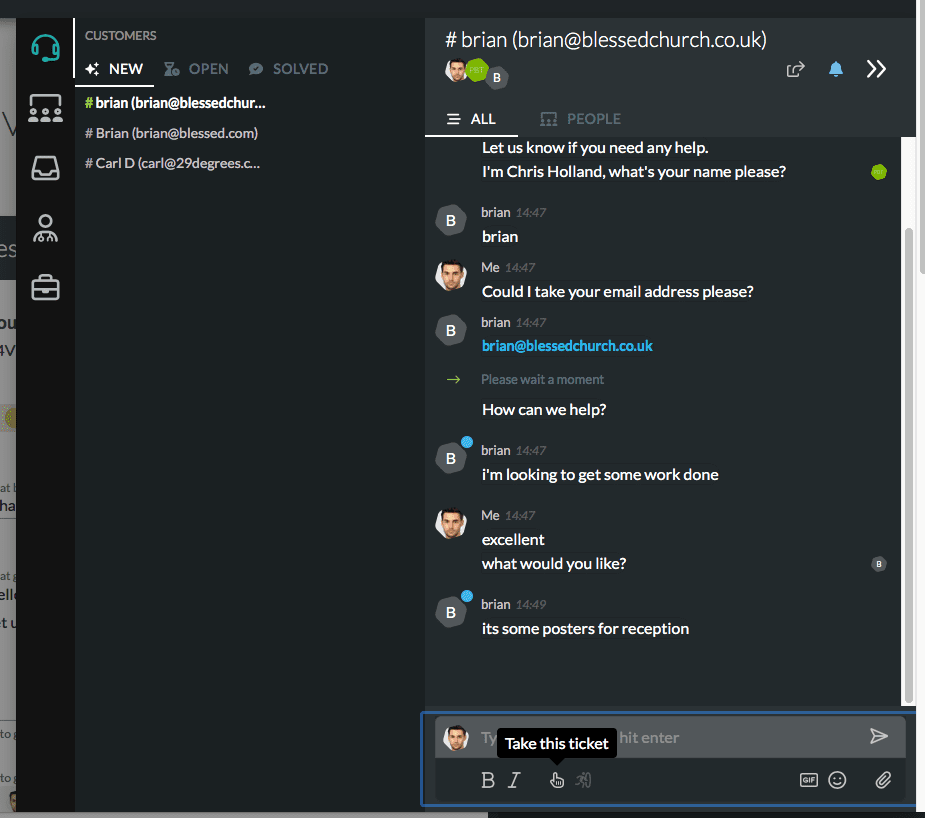
If they want to reply, they can start typing or press the little finger icon to take the ‘ticket‘:
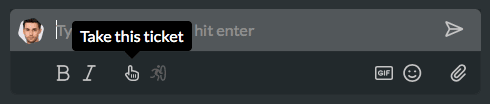
We call each chat session a ‘ticket’. Tickets can be closed, assigned or re-opened. Taking a ticket moves it to Open and lets other team members know it’s being dealt with.
To bring a team member into the chat, they can type @ followed by their name and pick from this list. They can also upload files, images and links. And so can visitors. It’s just like using a favourite social media chat messaging service.
When they’re finished, press the little person jumping through the circle to mark as solved. It’ll be archived in the Solved tab.
And that’s Live Chat for client sites.
If you’d like to add live chat to your own w3shop, please read this Insights article.