
Today I’m going to show you how to add the WorksThing Live Chat website widget to your w3shop or private client microsite. It’s really simple and just takes a few minutes.
If you’d like to add it to one of your client’s websites, take a look at this Insights article.
Here’s a video, or read the full article below.
Firstly, why have we built this?
Well in third party survey after survey, people say that their preferred way to contact a business is through a chat box on the business’s website.
It’s easy to understand why. If you send a business an email, you don’t expect a fast reply. A few days is normal. If you call, you probably expect to be kept on hold for ages or be passed around from department to department.
You know yourself, when you start a chat session with a business, you can multi-task. You can do it while you get on with something else.
Now there are lots of chat services around. Some very famous and expensive names in this space. But only one of them integrates with WorksThing.
You can add the WorksThing Live Chat widget to your own website. To a w3shop, to private client microsites. Or you can add it to a customer’s website. It’s really simple.
So let’s sign in.
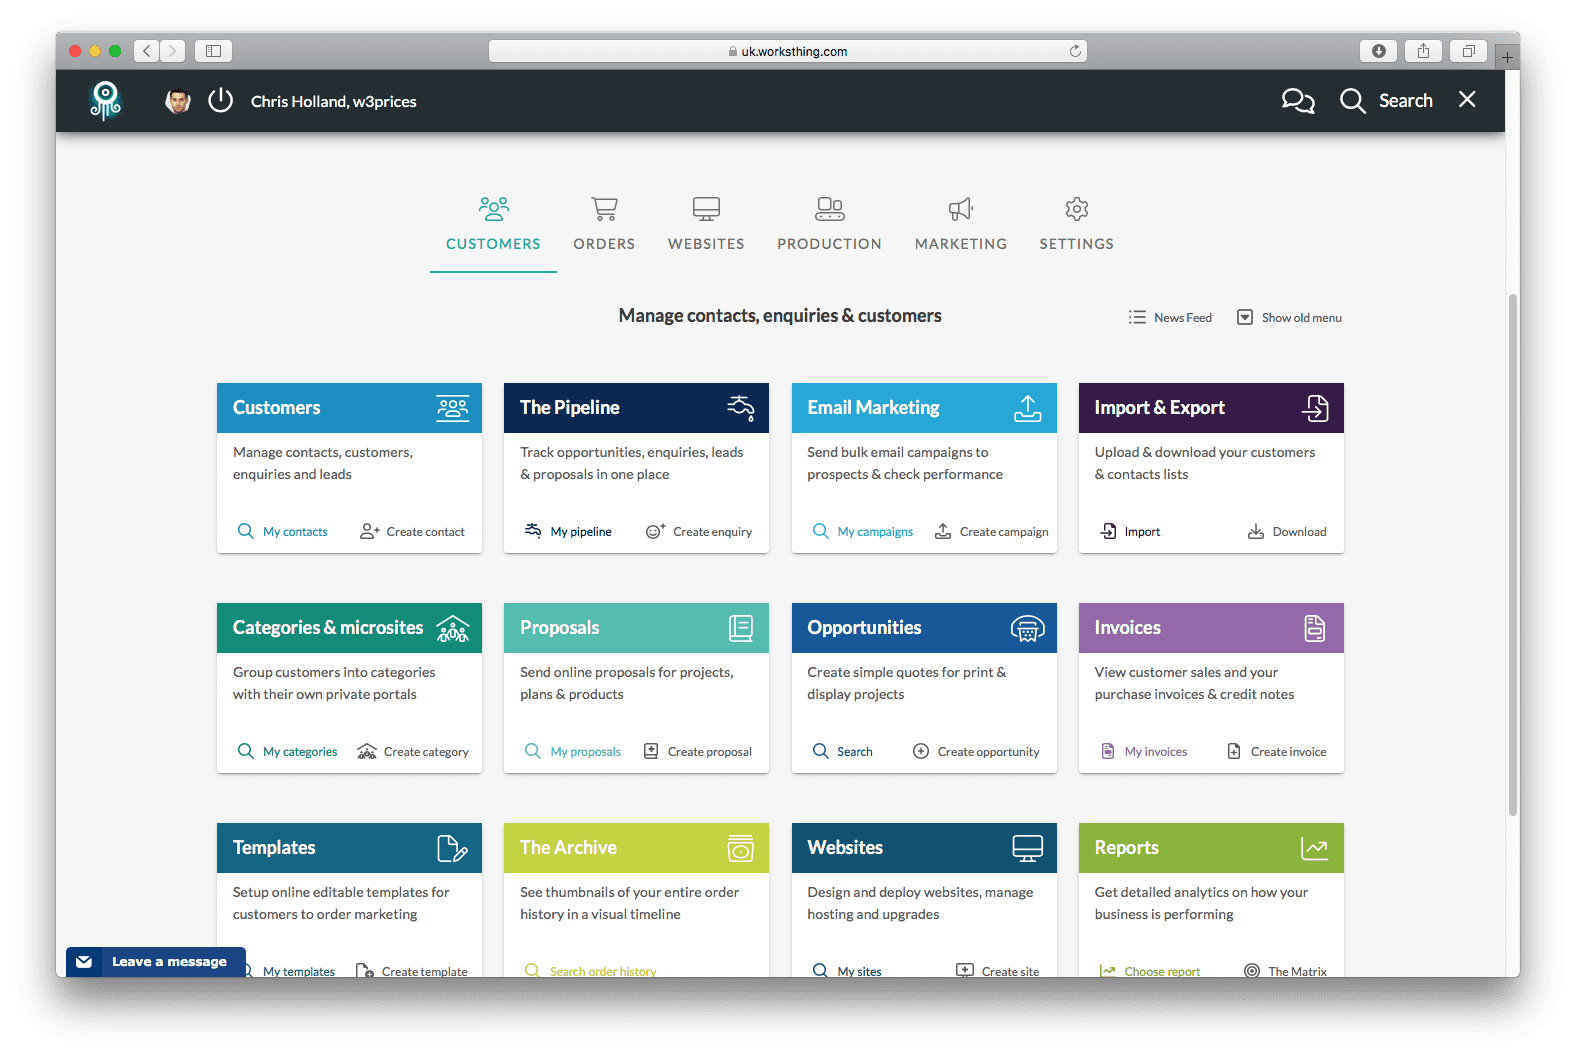
On the dashboard, click the Categories & Microsites tile or in the top search bar, start typing “Categories & microsites” and select from the menu.
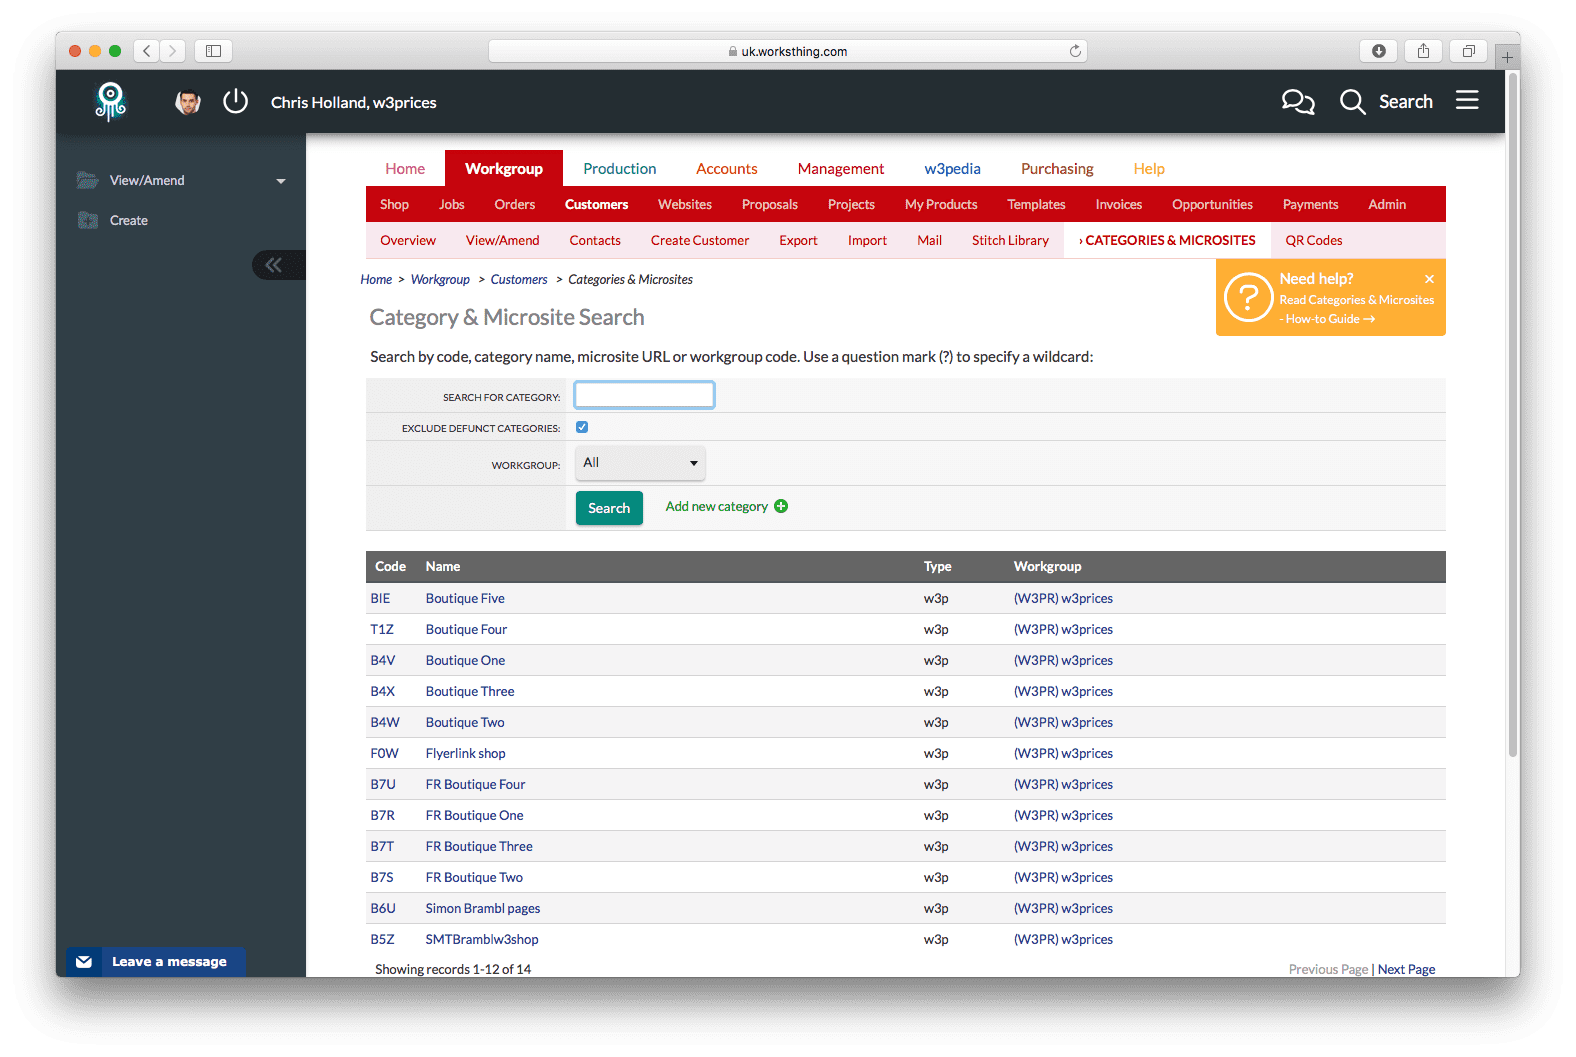
You’ll see a list of all your private client microsites and your w3shop. Select the one you want to add the live chat widget to. If you need to create a new public or private shop, take a look at these app pages.
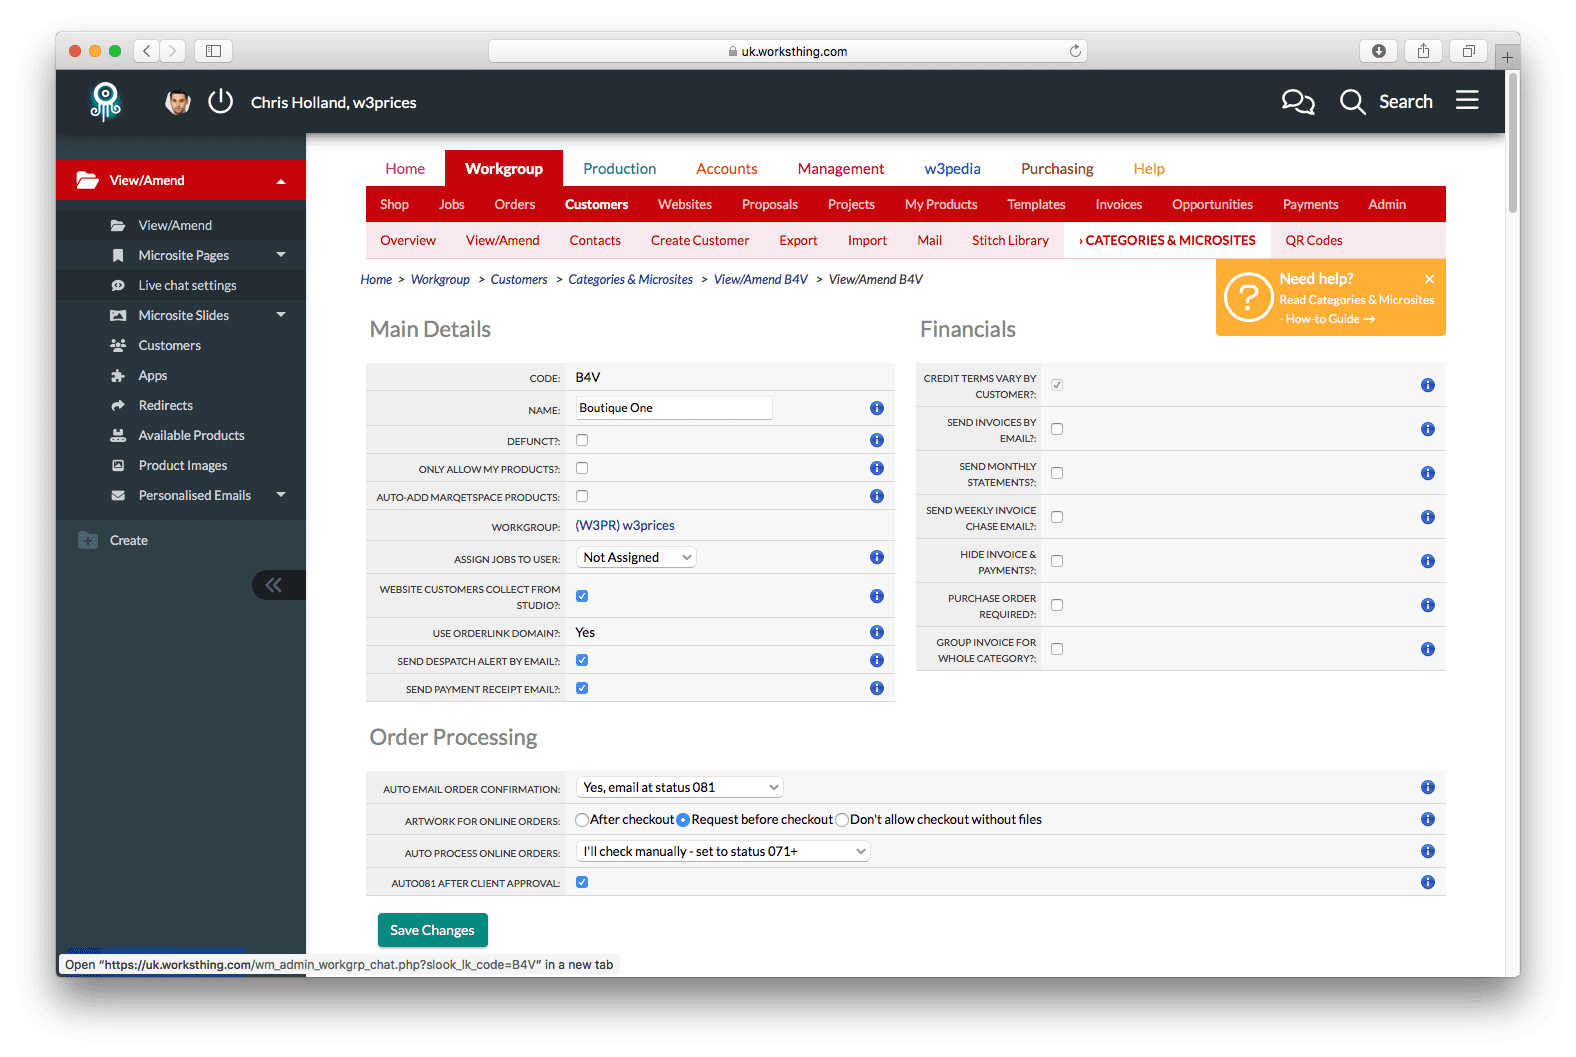
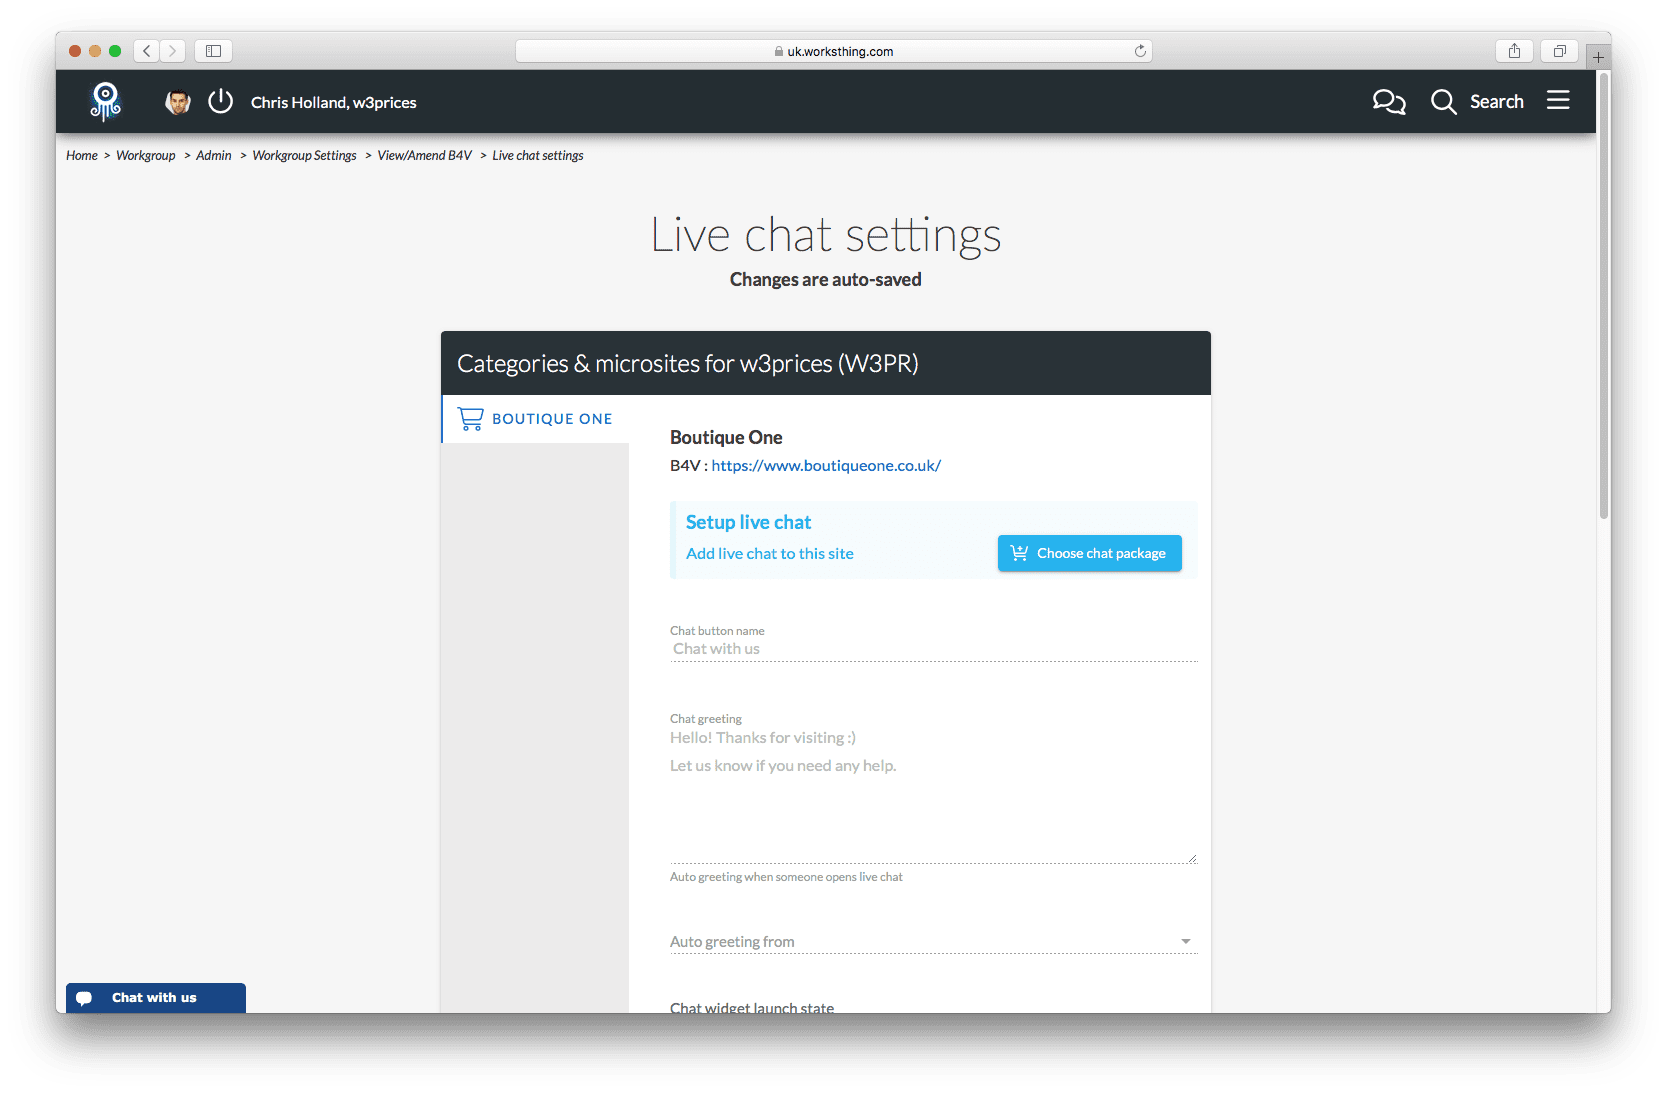
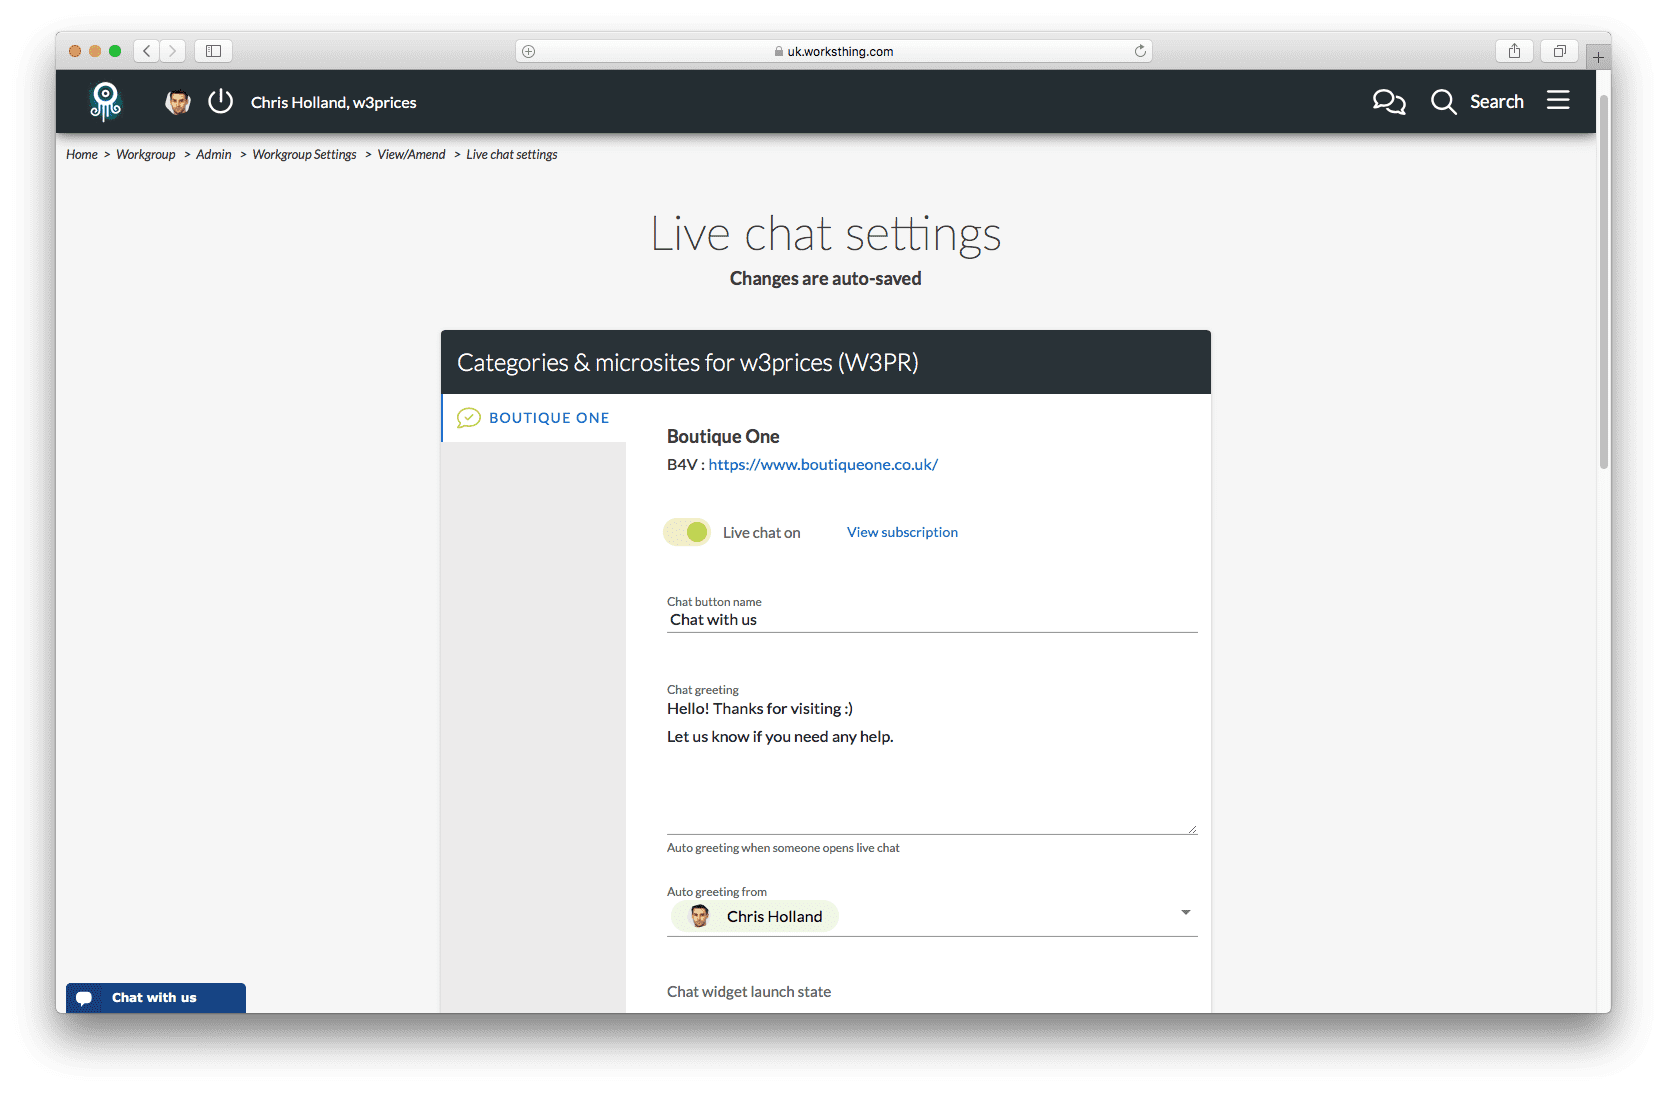
Now on the left menu, press Live chat settings.
This is where we’ll manage all the options for our live chat widget.
At the moment it’s locked, because I need to choose a subscription. So first I’ll press Choose chat package to activate my subscription.
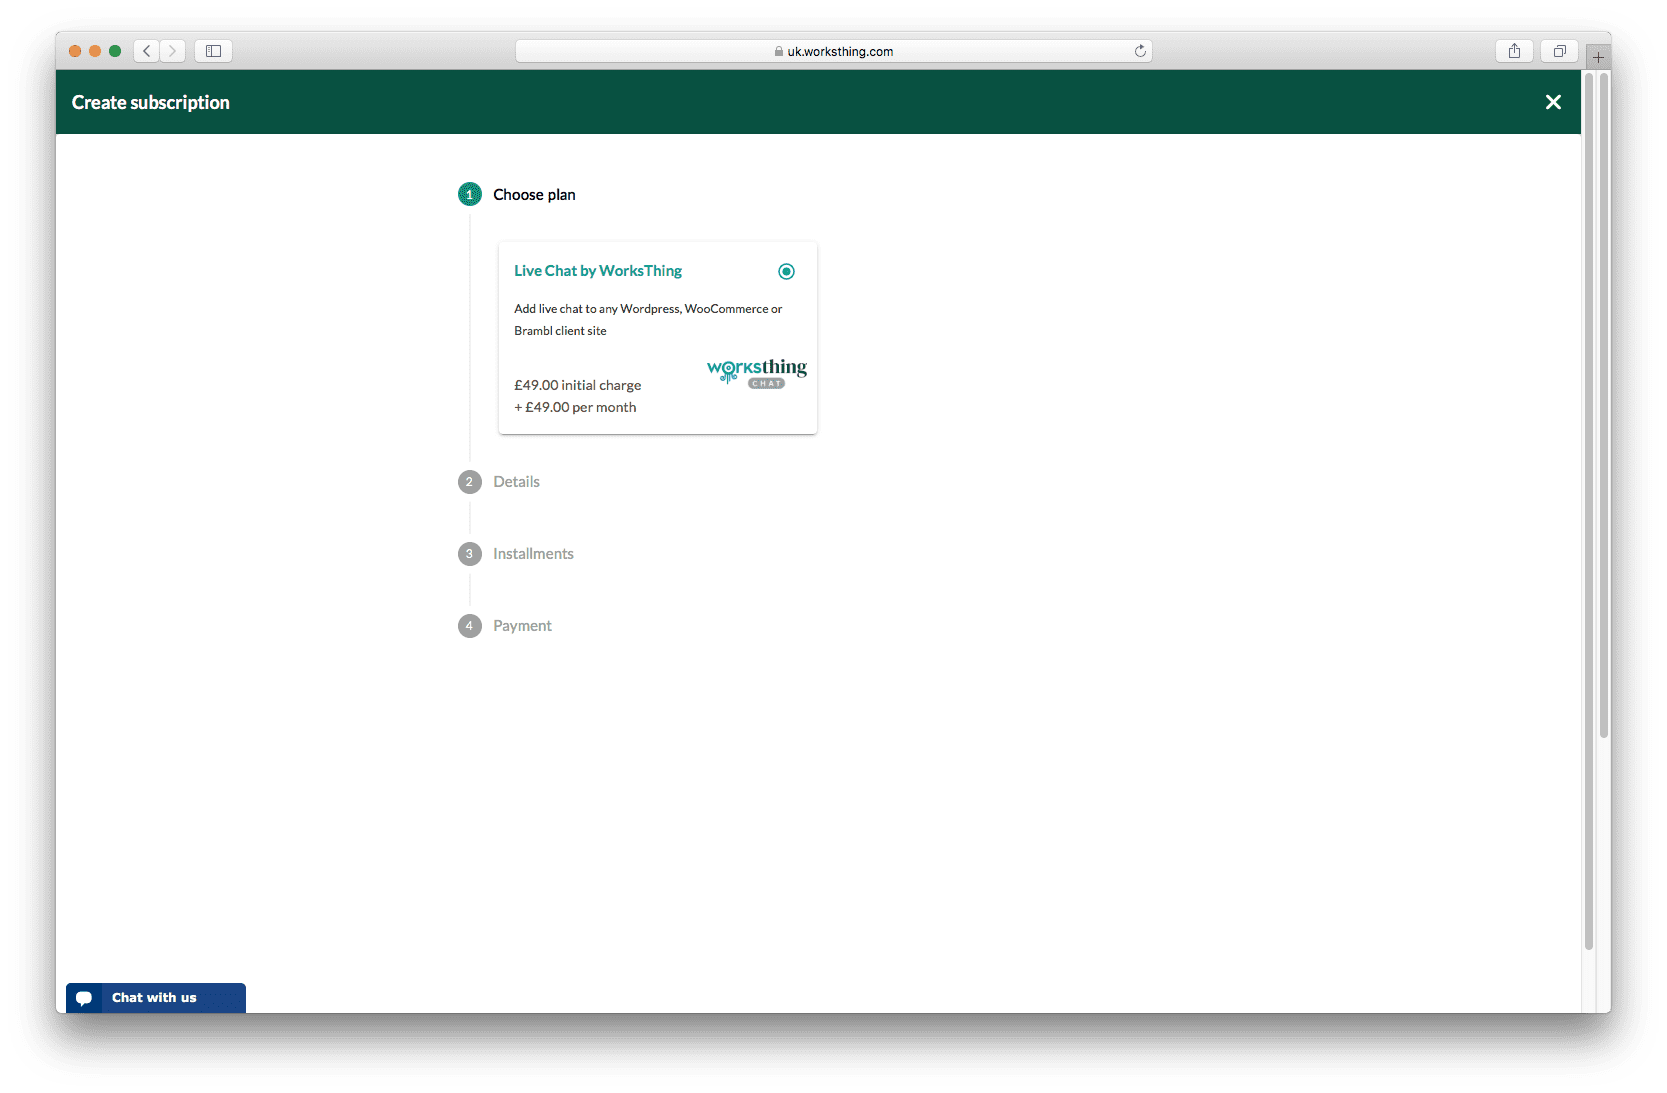
Step through the options and press Save subscription when you’re done. On step 3 you’ll see pricing, based on your existing bundle or partner contract. Current Live Chat app pricing is here.
When I’m done, I’ll be taken back to the Live chat settings screen. You can see there’s an active subscription and you could press View subscription to see it.
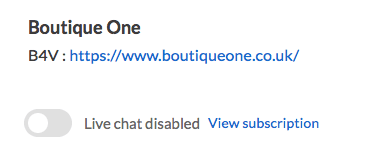
First we need to flick the Live chat disabled switch.
The light goes green and we’re ready to configure the chat settings.
For a public w3shop or private client microsite, the chat box will have appeared automatically. If you were using this on a client site, or other type of website, like WordPress or Brambl, then I’ll show you what to do a little later.
First thing we can configure is what the chat button says:

Changes are saved automatically when you leave the field.
After a visitor presses the chat button, we play an automated greeting. You can set that to say whatever you want.
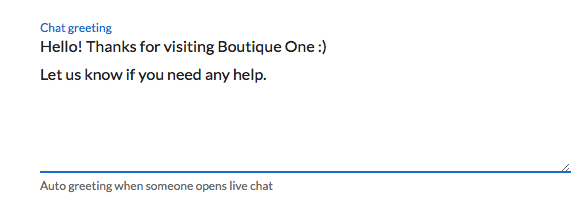
The greeting will look like it has come from one of your users. Choose which user automatically greets each visitor from the dropdown:

If you’d like to add another user, with a generic name, you can add an extra system user here.
There are a few different ways you can show the chat widget.
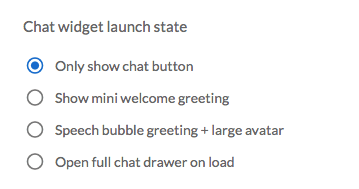
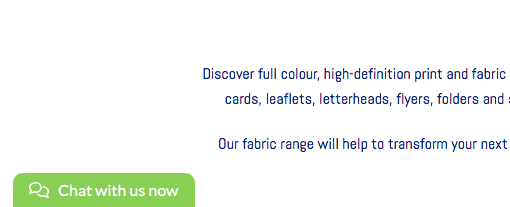
By default, Only show chat button is a small button, locked to the bottom left of the page:
To make it slightly more prominent, Show welcome greeting slightly expands the chat box and shows the greeting message with the user you chose:
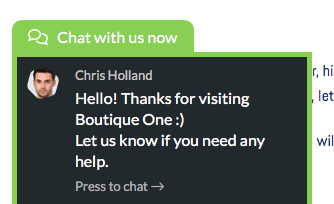
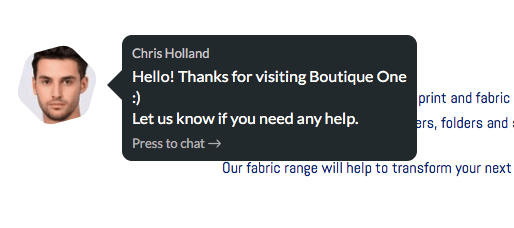
People are naturally drawn to other people’s faces. So with the Speech bubble + large avatar option you can make the chat even more prominent:
Finally, you can Open chat drawer fully on load. This will take up the right part of the screen and is good if you really want to stimulate someone to start chatting:
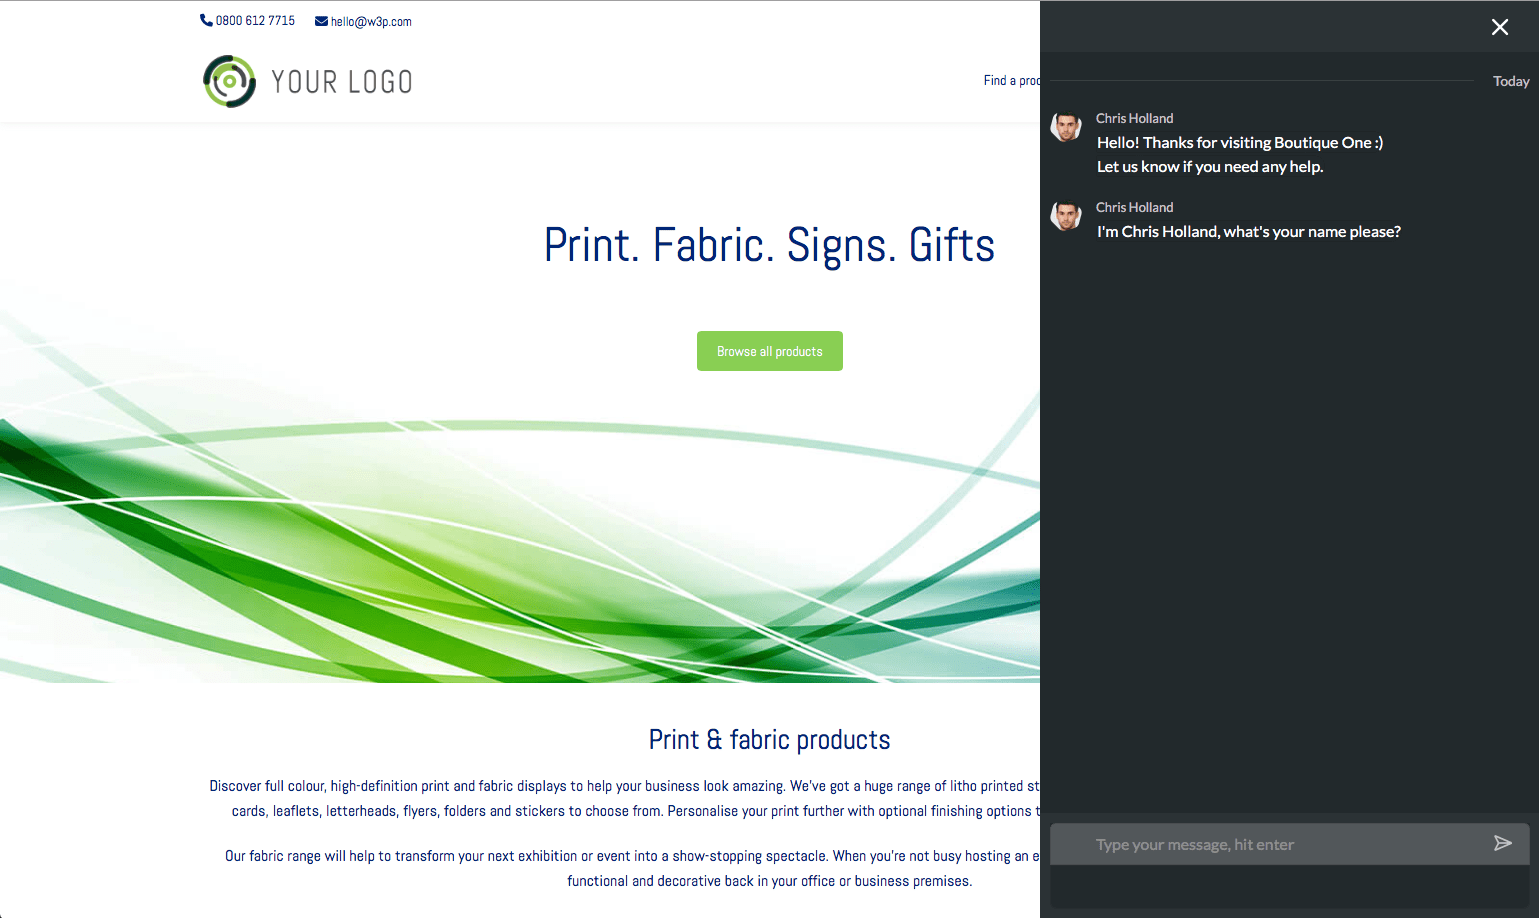
The visitor can close the window if they don’t want to chat. They’ll see the small button at the bottom of the screen if they want to start chatting again.
You can choose whether the button/bubble is shown bottom left or bottom right:

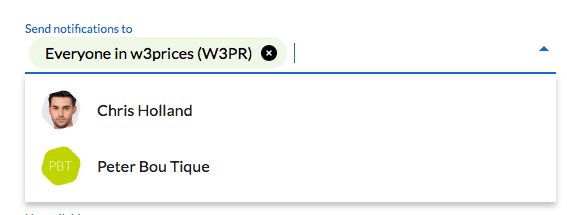
When a visitor starts chatting, you’ll want to notify some or all of your users. By default, your whole team will be notified. Select one or more users from the dropdown if you only want, say, the sales team to be notified:
With the dedicated iOS and Android apps, you can respond to chats directly from your smartphone.
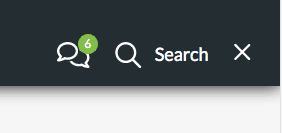
If you’re signed into WorksThing, you’ll see badges appear next to the speech bubble at the top of the screen to show you have new unread chats:
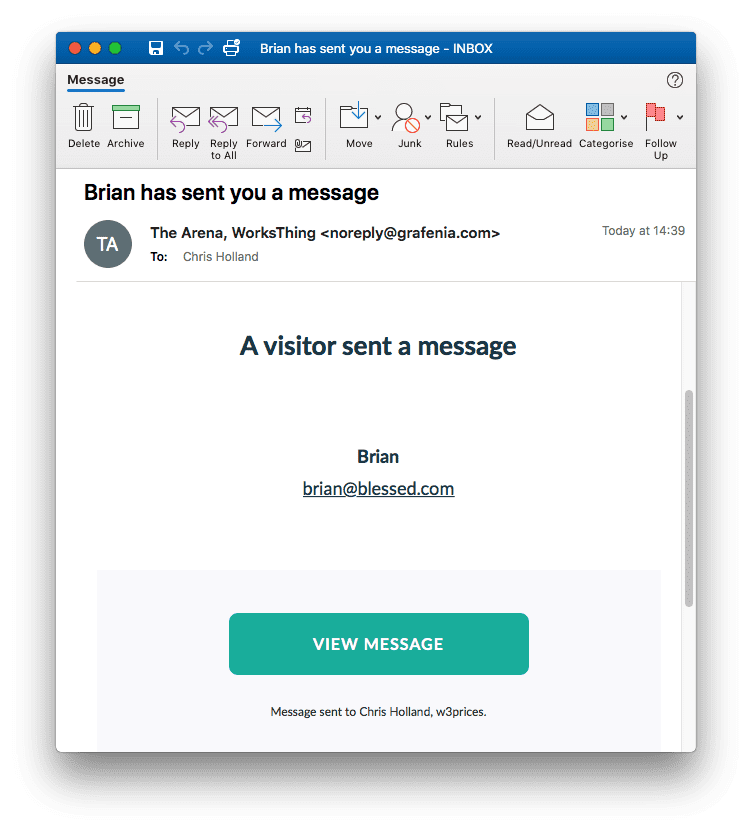
If you’re not signed in, we’ll send an email with a link to the chat:
You might not be able to respond immediately. While people expect a faster response than by email, they don’t expect an instant reply. You can set how long to leave someone on-hold:
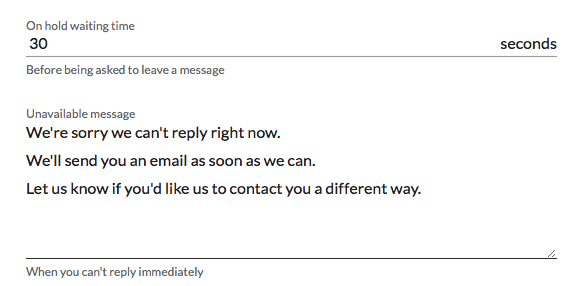
If you chose 30 seconds, then after we’ve asked the user how we can help, we’ll wait 30 seconds for someone from your team to respond. If they don’t, we’ll show Trying to connect you. After another 30 seconds, if nobody has replied yet, we’ll say Sorry to keep you waiting. Finally, after a third 30 seconds we’ll show the Unavailable message you set. Change the on hold waiting time to 60 seconds and it would be 180 seconds or 3 minutes before the unavailable message kicks in.
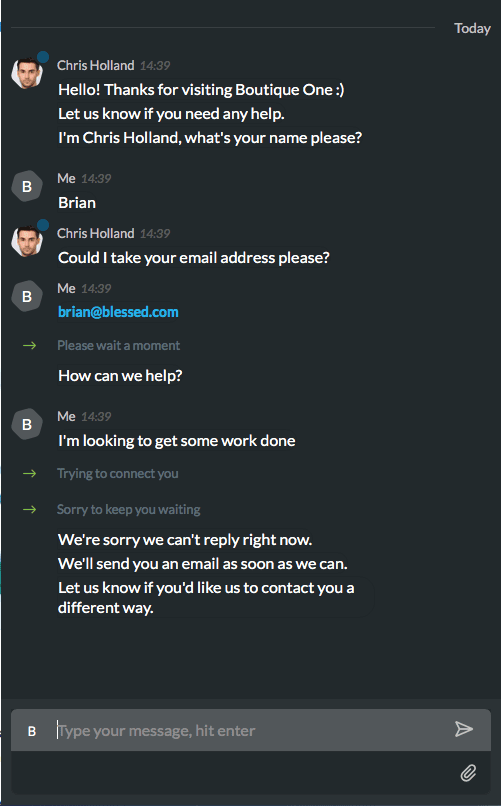
Here’s what the visitor sees:
In a parallel universe, you did click the email or chat icon in time. Your team see all inbound enquiries in The Arena. In the first tab, you’ll see all customers and enquiries:
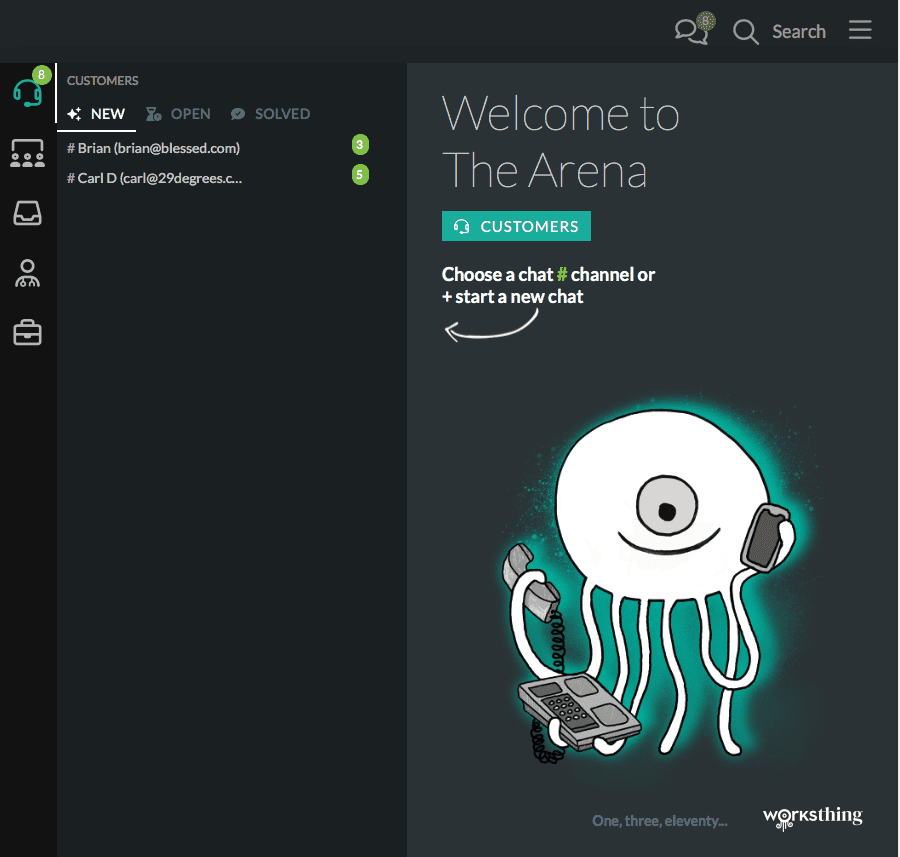
Chats are grouped by New, Open and Solved. Next to each chat is a count of the number of unread replies. Any chats not responded to will be in New. Click a chat to read it:
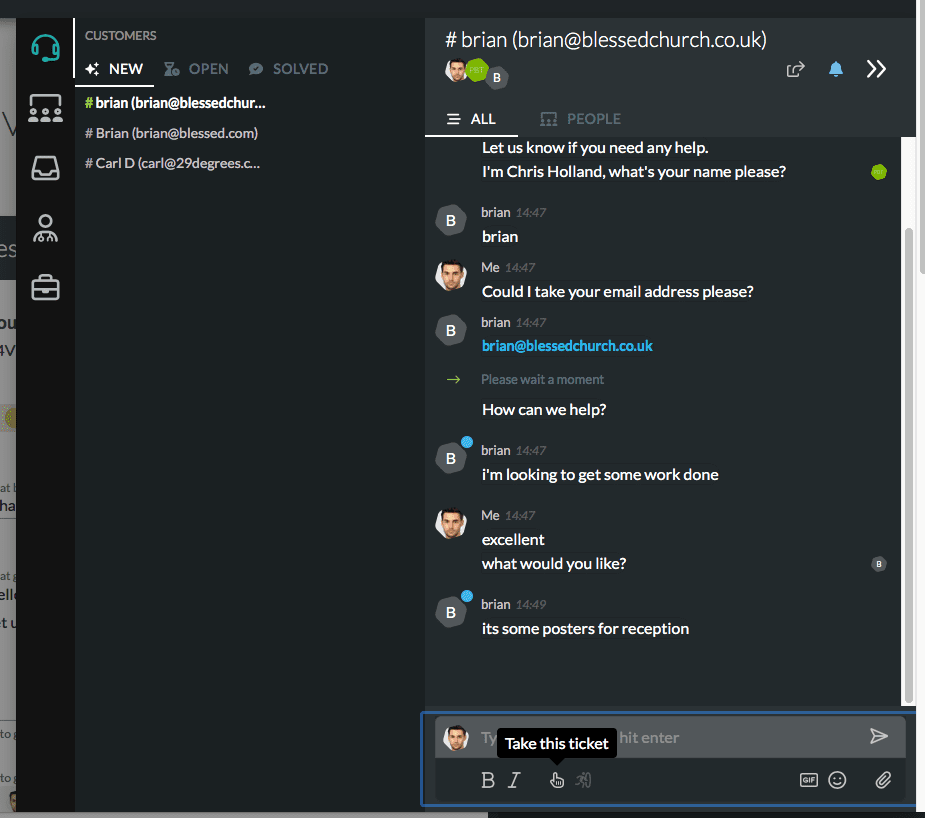
If you want to reply, start typing or press the little finger icon to take the ticket:
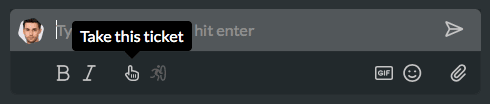
This moves the ticket to Open and lets other team members know it’s being dealt with.
You can @ a team member to bring them into the chat, or you can upload files, images and links. And so can visitors. It’s just like using your favourite social media chat messaging service.
When you’re finished, press the little person jumping through the circle to mark as solved. It’ll be archived in the Solved tab.
Adding a different link or button to open chat
Now that your chat widget is working, you can also add other links. This is useful in places where you might want a visitor to start a conversation. Contact us pages are an obvious place to start. You could also have answers inside frequently asked questions, or images start a chat.
It’s really easy.
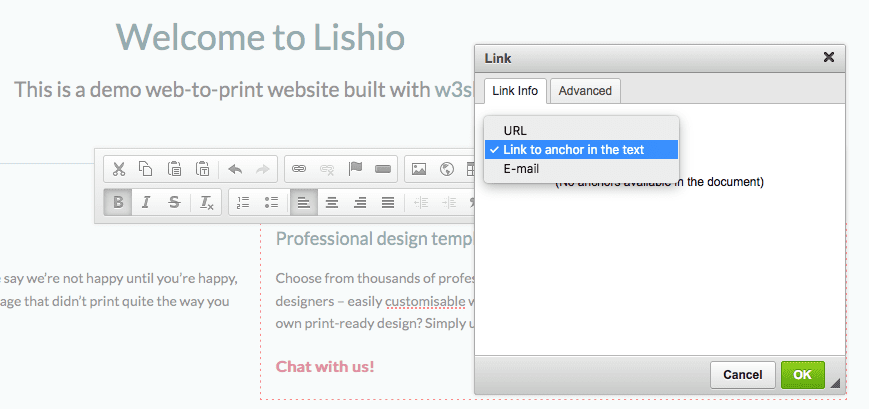
Type some text where you want. Style it, select the text and press the link button.
In the Link info tab choose Link to anchor in the text:
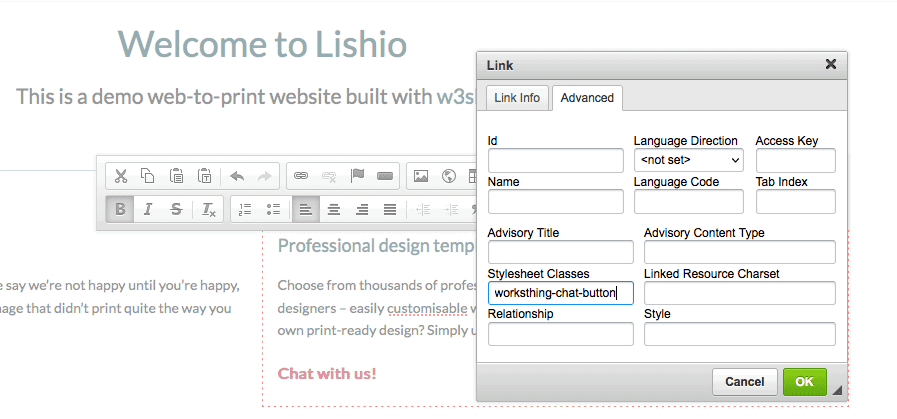
Then on the Advanced tab, in the Stylesheet Classes box type worksthing-chat-button :
Save changes, publish your page and your link will then open a chat window. If the customer has already been chatting, it’ll pick up where you left off.
And that’s Live Chat for w3shop.
If you’d like to add live chat to a client site, please read this Insights article.